![]()
The original...
DrgnFyre's Forsaken
WALKTHROUGH
(1998)
Below you will find a complete Walkthrough for each level: I have
provided screenshots where necessary, and also the locations of all the
crystals (and shots) - When possible, I have noted secrets throughout
each level. This is mainly meant for people who want to get through the
game, with all the crystals.
These Walkthroughs are very Screenshot Intensive. Unfortunately, the
only real way to do a walkthrough is to SHOW you where to go. I have
tried to summarize as much as possible while still showing the optimal
path. I will be working on making these pages smaller and easier to
download. Each screenshot is approximately 8-16 Kb, which isn't too bad.
However, level 3 has the most screenshots so far with 51 shots. It adds
up. Just so you know. Each Screenshot is 340x480 - The first 4 levels
were captured at 640x480 and manually resized. The remaining levels were
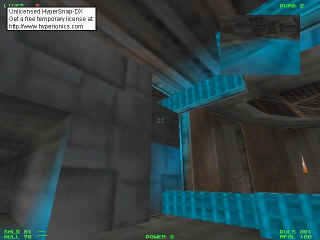
caught at 340x480 so I wouldn't have to resize them. I used Hypersnap DX
to capture all screenshots. It is an EXCELLENT program, and I recommend
it to anyone needing to do screenshots, especially since it supports
Glide and Direct3d.
These pages work best when running at 1024x768 or better (800x600 also
works pretty good), and fullscreen. That way, you can get some
screenshots side by side.
There are also Savegame files for the beginning of each and every level
on my main Forsaken page.
Level 1 - Volcano (Last Updated - 07/01/98)
Level 2 - Subway (Last Updated - 05/31/98)
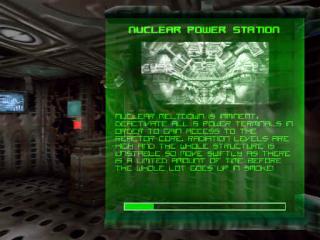
Level 3 - Nuclear Power Station (Last Updated -
07/01/98)
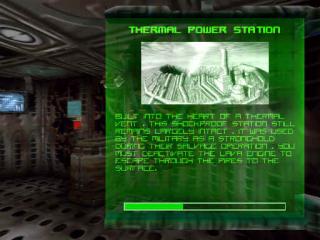
Level 4 - Thermal Power Station (Last Updated -
05/31/98)
Level 5 - Bank Vault (Last Updated - 05/31/98)
Level 6 - Prison Ship (Last Updated - 05/31/98)
Level 7 - Asteroid Base (Last Updated - 06/10/98)
Level 8 - BioSphere (Last Updated - 05/31/98)
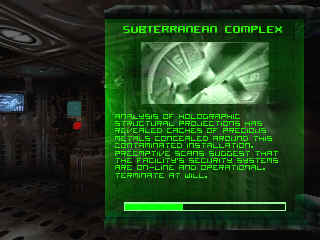
Level 9 - Subterranean Complex (Last Updated -
05/31/98)
Level 10 - Capsized Ship (Last Updated - 05/31/98)
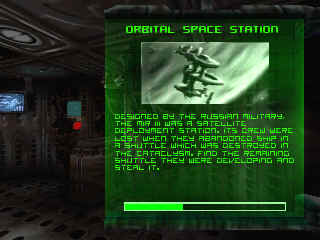
Level 11 - Orbital Space Station (Last Updated -
05/31/98)
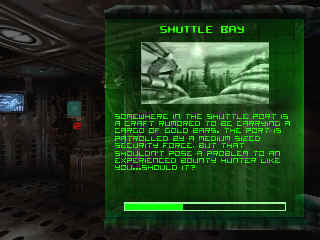
Level 12 - Shuttle Bay (Last Updated - 05/31/98)
Level 13 - Military Base (Last Updated - 05/31/98)
Level 14 - Tloloc Temple (Last Updated - 05/31/98)
Level 15 - Ancient Temple (SECRET LEVEL) (Last
Updated - 05/31/98)
DrgnFyre's Forsaken Crystals WALKTHROUGH.
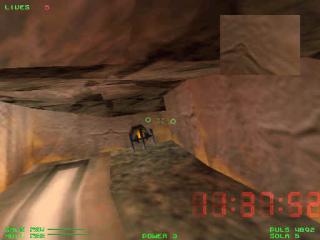
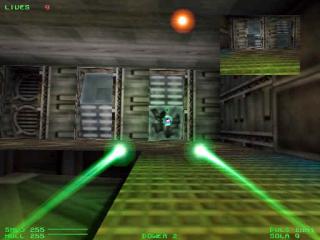
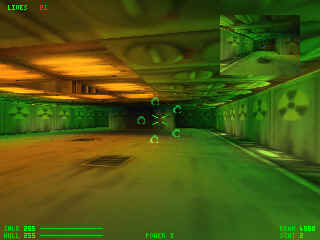
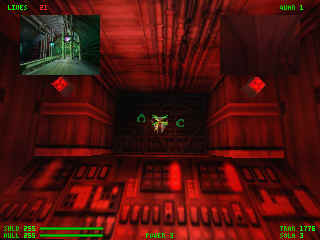
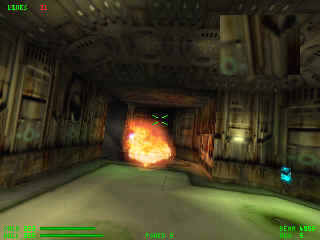
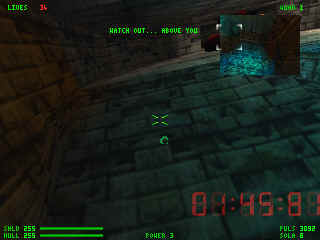
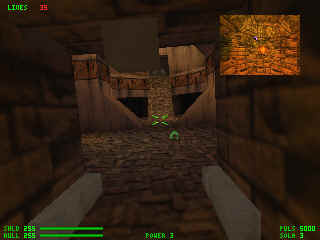
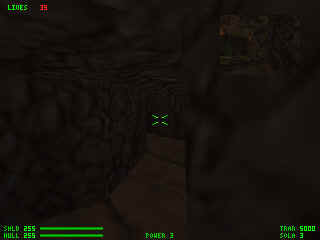
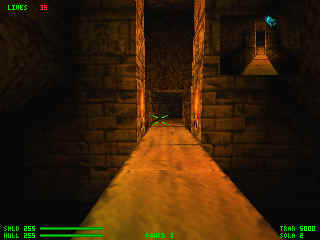
Level 1 - Volcano. Back to Index.
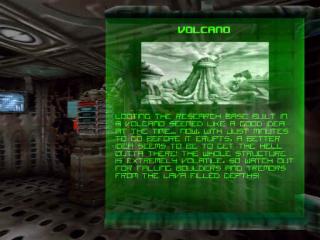
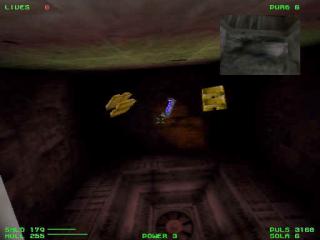
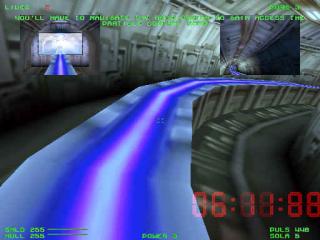
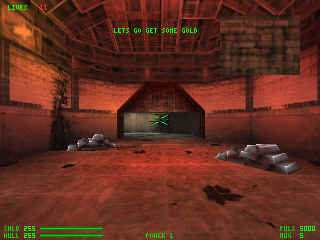
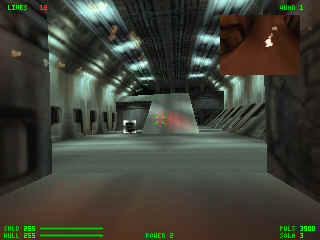
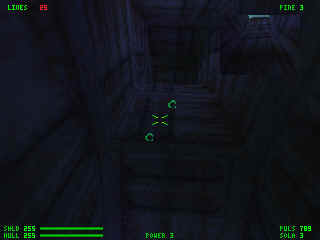
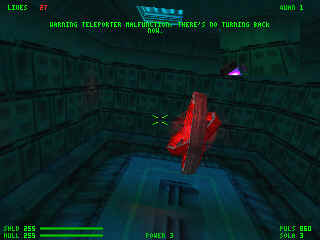
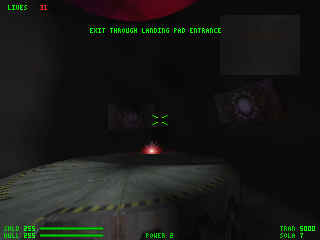
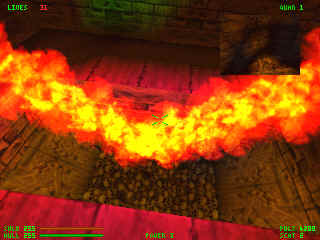
Well, this Level is pretty straightforward.
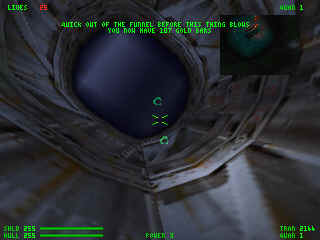
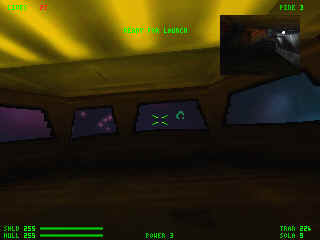
You ARE on a time limit, but if you just keep a good pace, it's nothing to worry about.
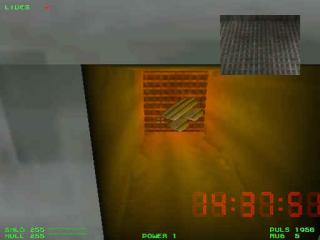
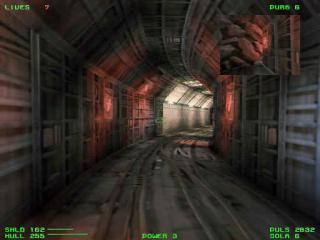
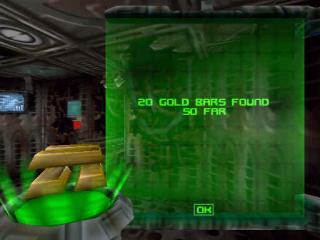
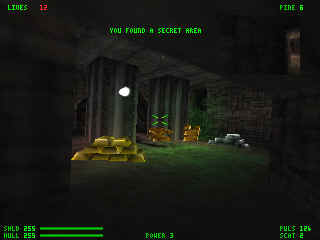
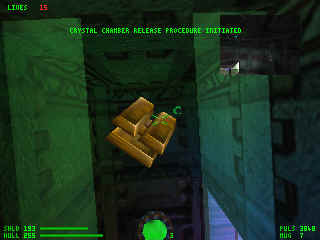
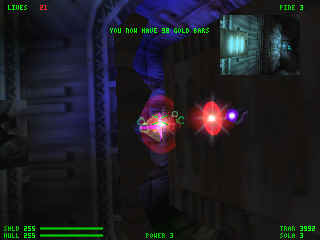
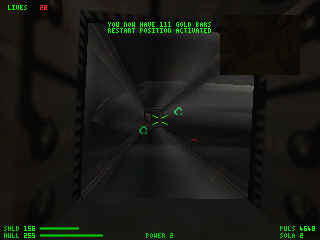
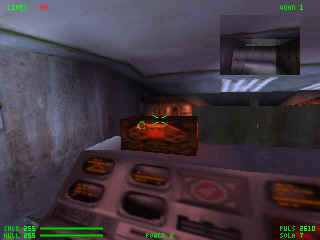
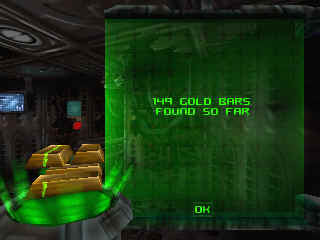
Don't forget to grab these gold bars after you kill the first 4 robots.
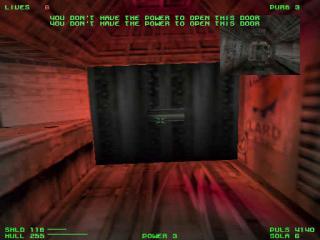
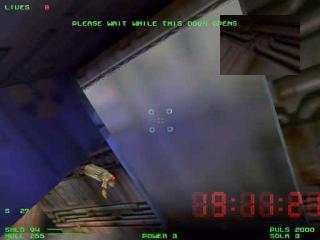
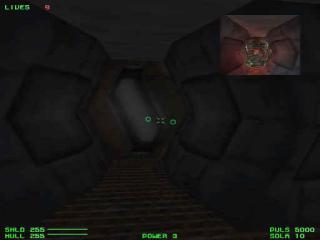
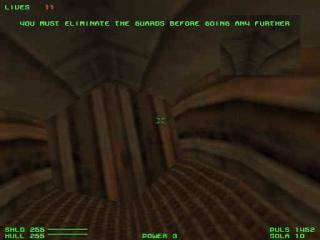
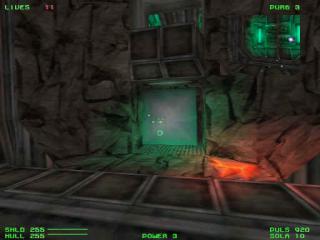
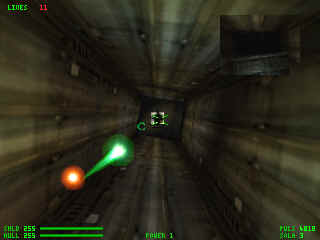
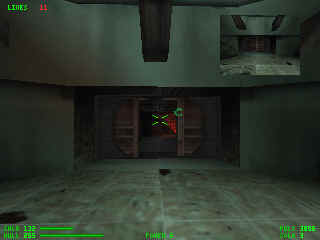
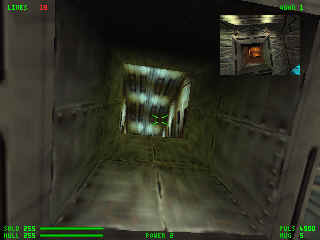
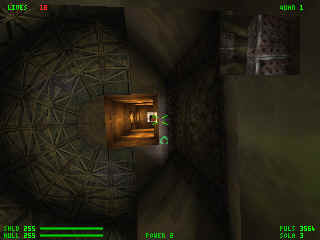
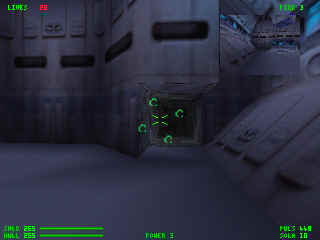
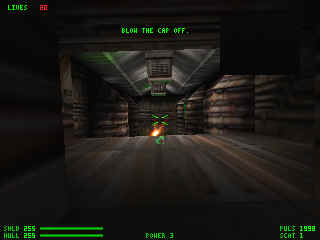
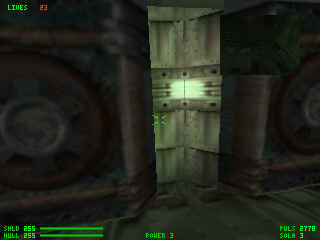
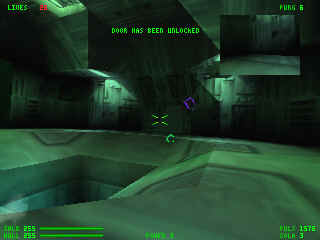
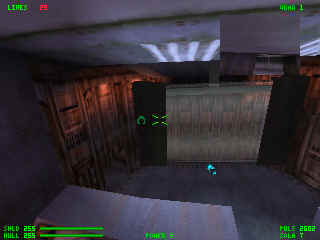
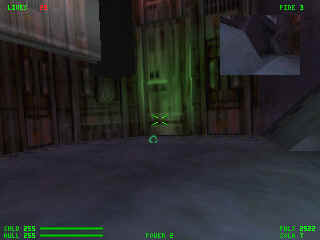
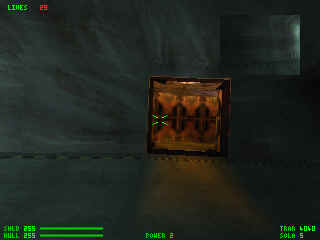
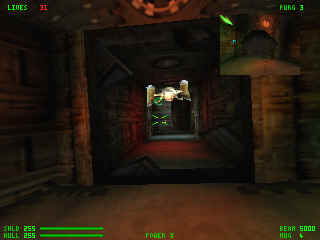
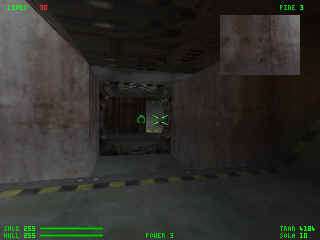
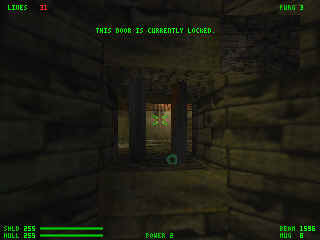
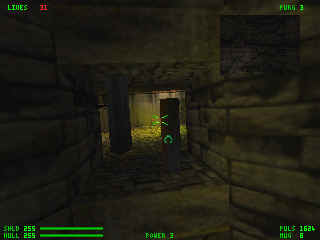
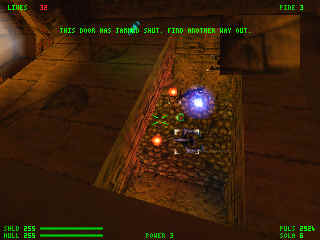
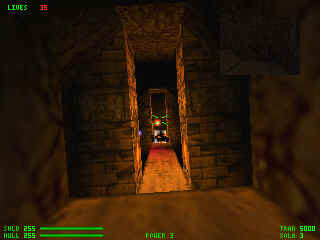
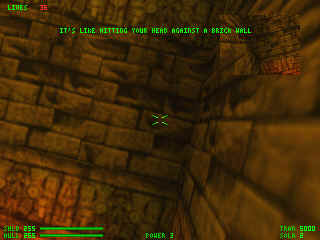
I understand some people can't get through this first door.
Just shoot it.
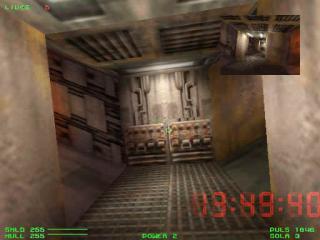
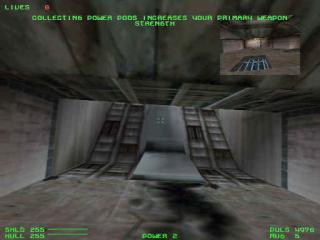
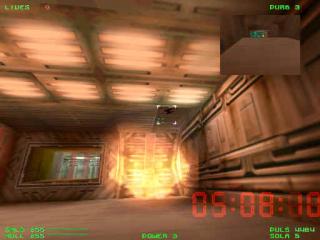
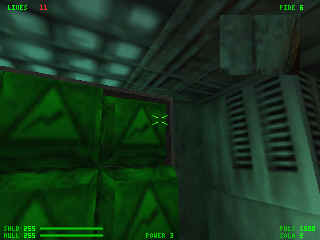
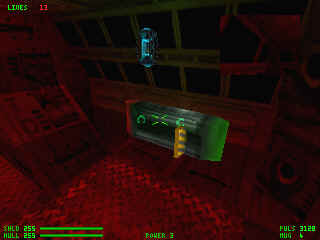
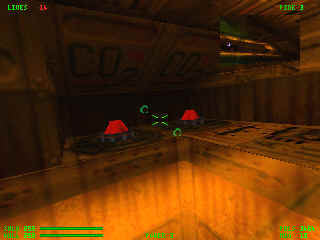
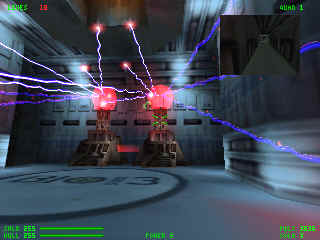
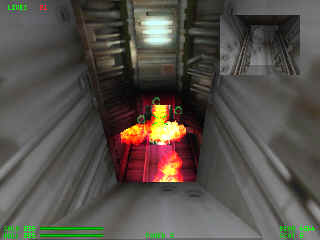
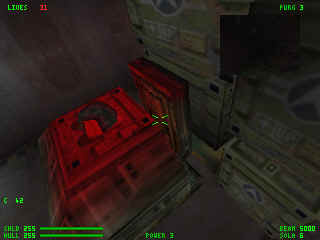
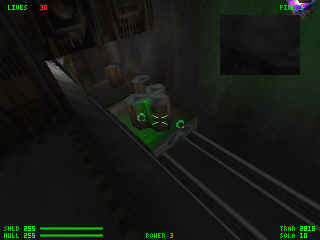
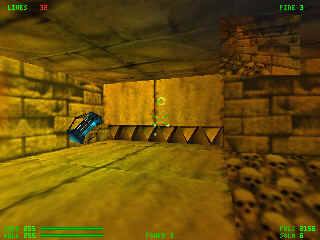
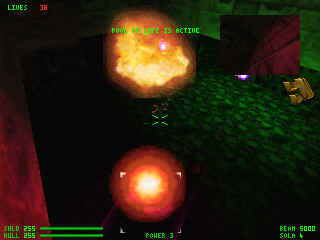
You'll want to shoot these "power backup" units.
Doing so gives you some extra gold bars.
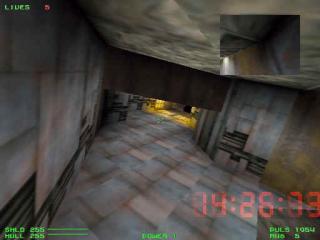
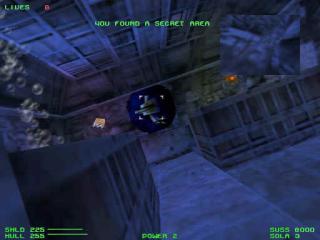
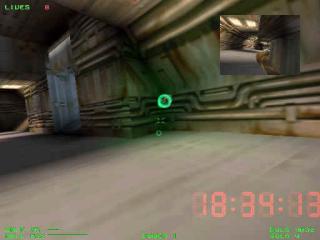
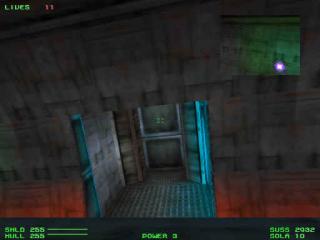
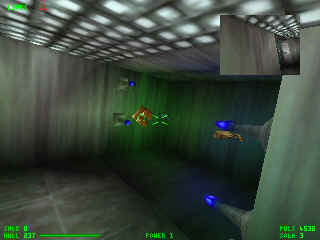
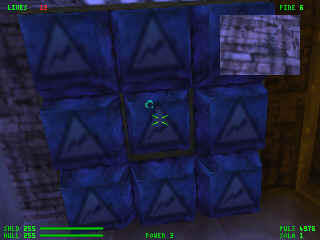
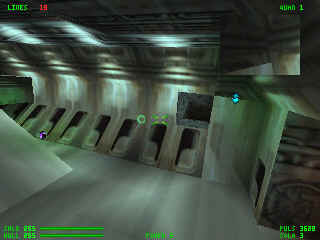
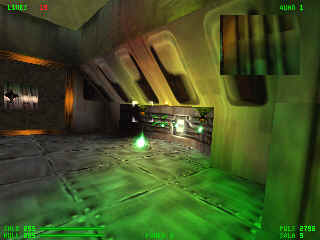
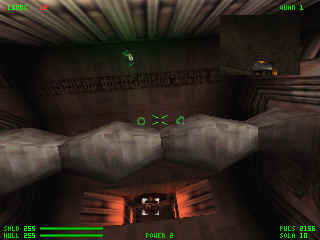
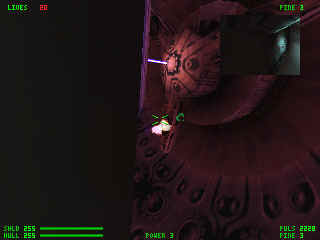
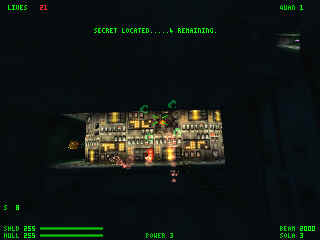
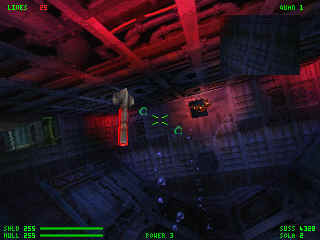
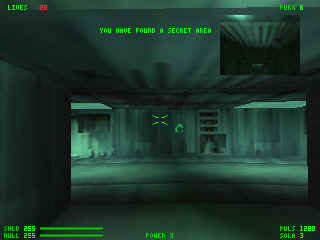
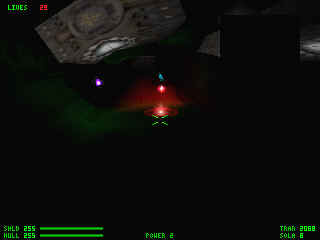
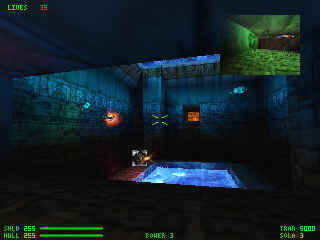
Be sure to look around before going on.
There is a Power Up, an Orbital, Solaris, and a Susska here.
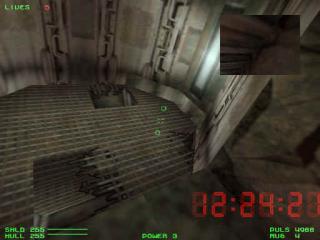
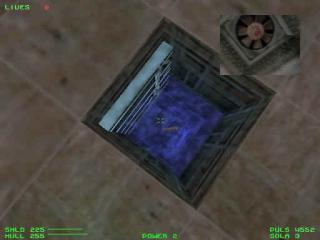
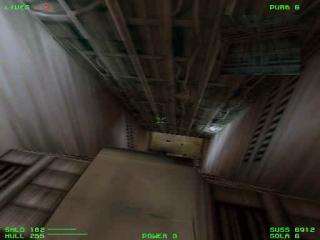
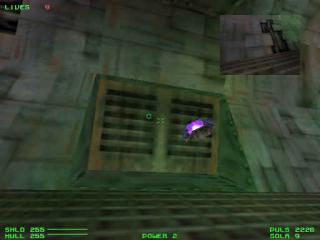
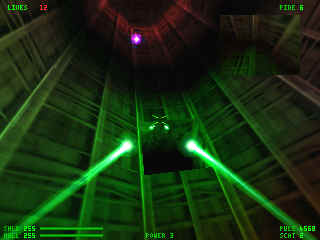
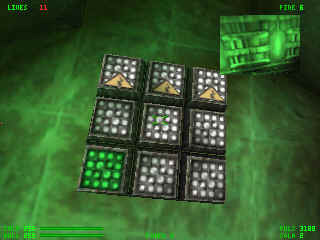
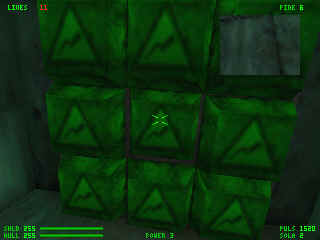
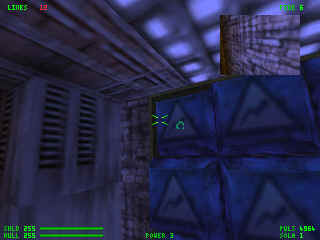
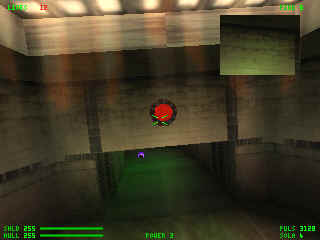
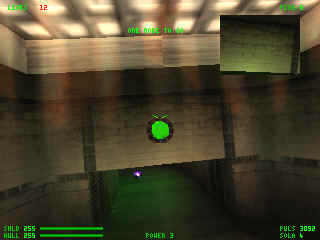
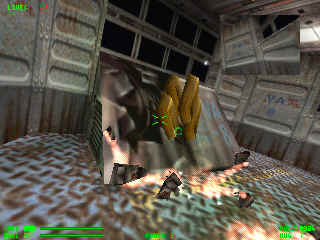
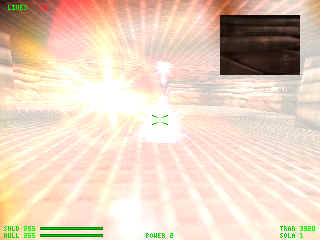
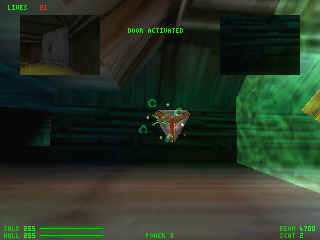
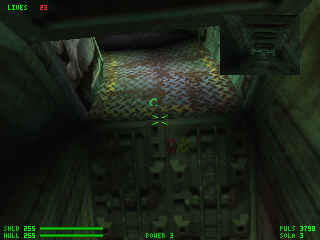
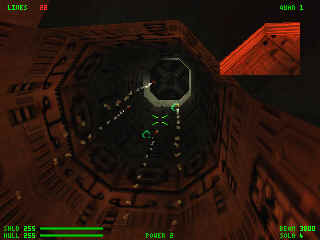
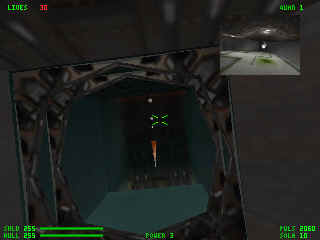
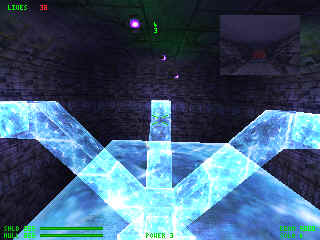
Shoot this to make it go down to the next level.
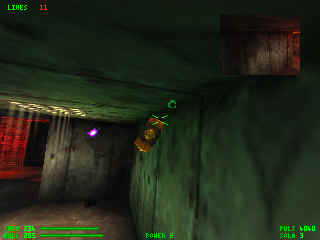
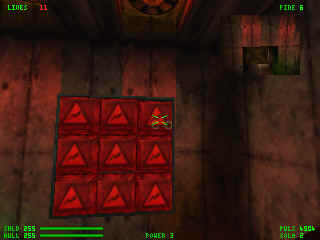
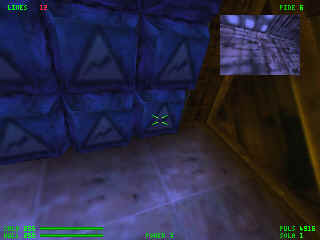
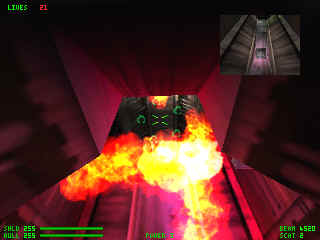
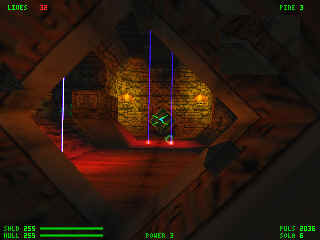
Do NOT Shoot these yet.
Be sure to lure the creatures out of here first, because sometimes when
you kill them, they will hit this as well.
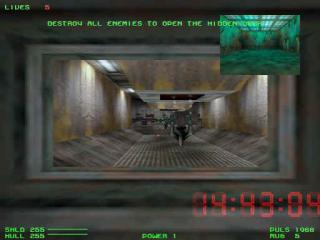
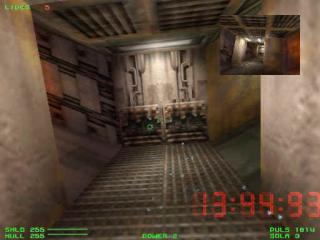
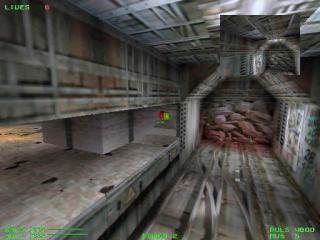
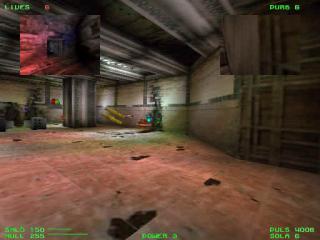
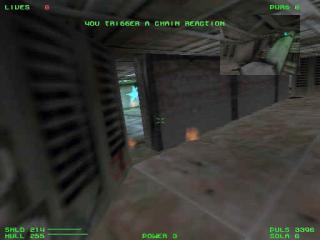
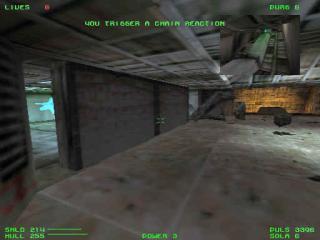
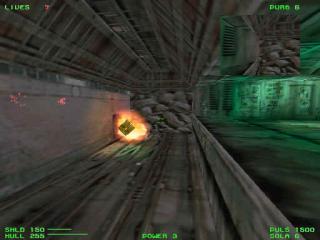
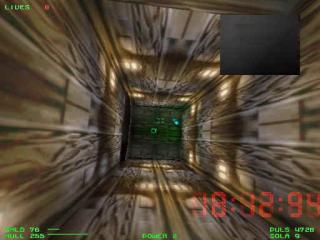
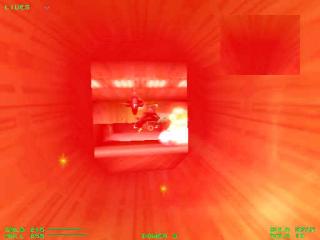
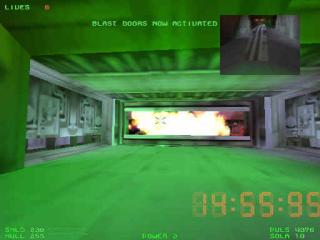
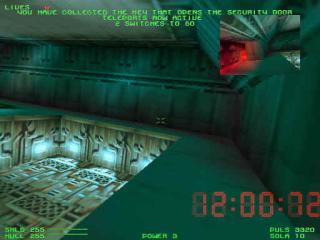
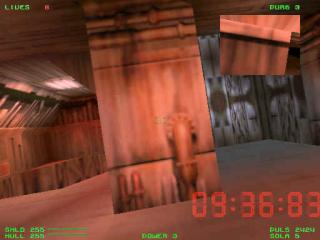
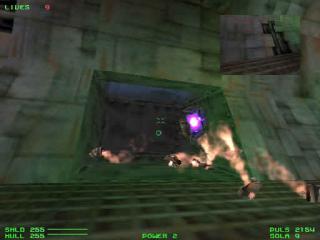
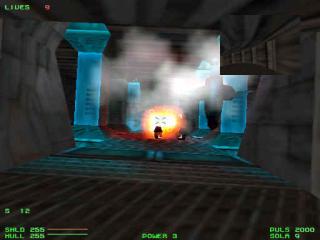
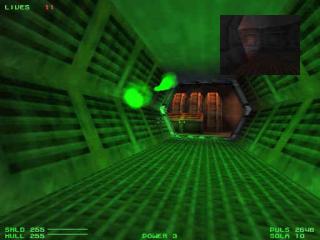
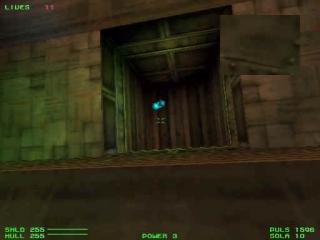
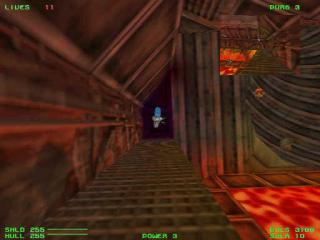
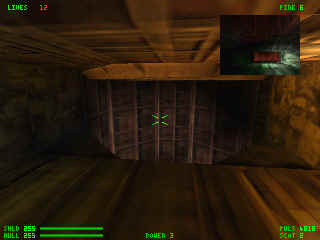
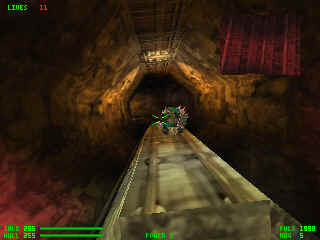
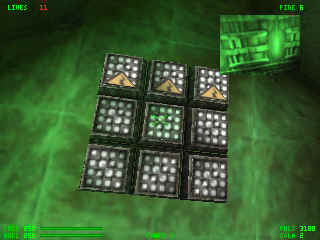
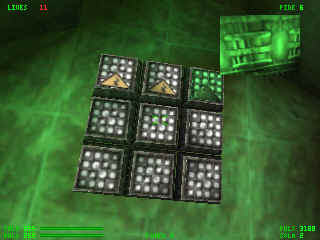
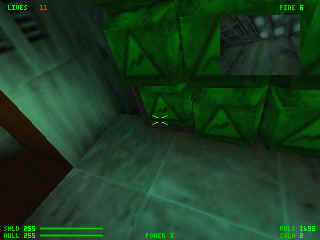
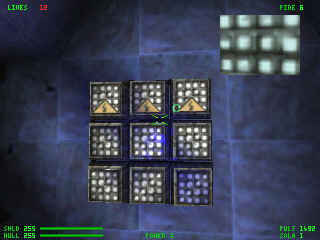
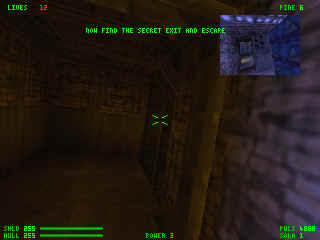
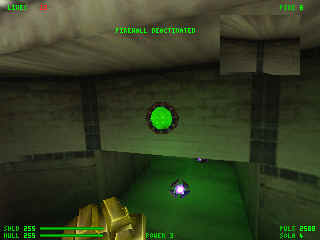
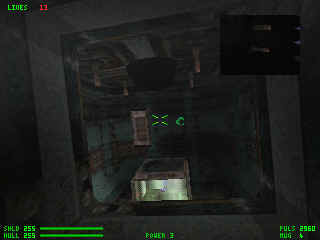
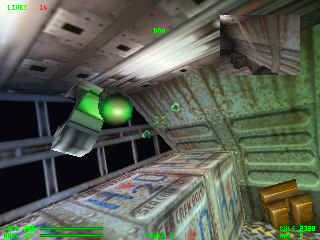
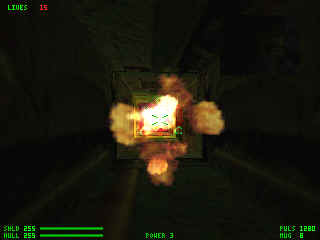
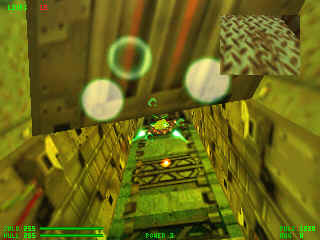
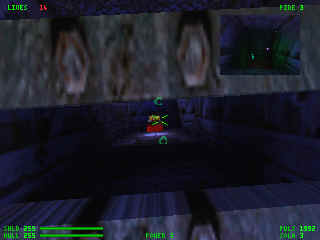
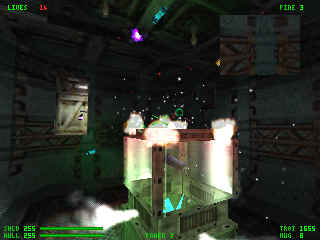
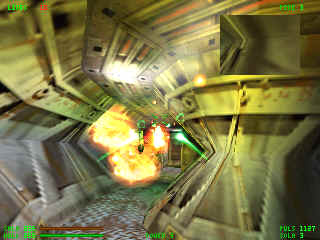
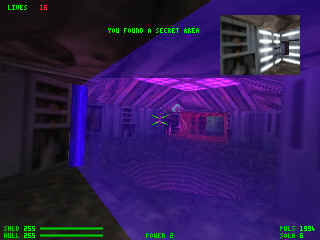
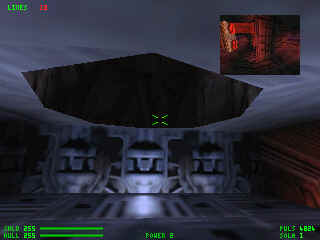
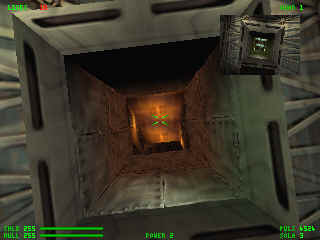
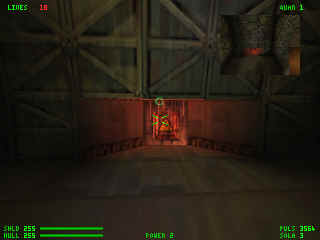
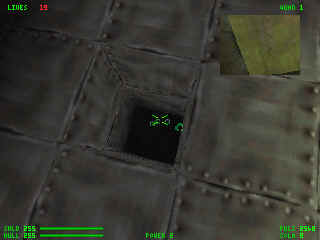
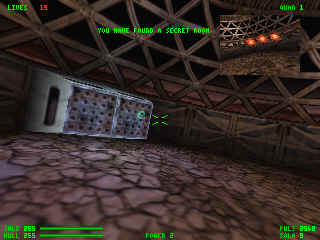
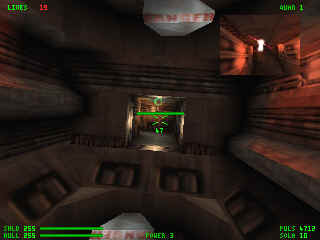
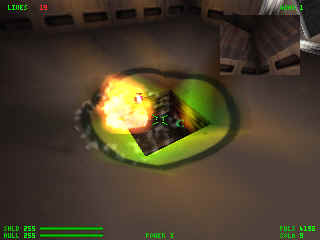
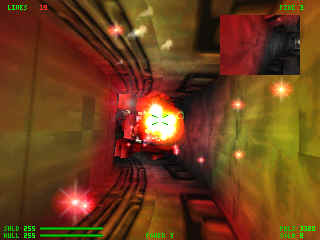
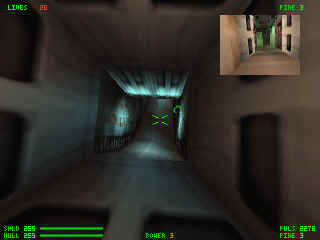
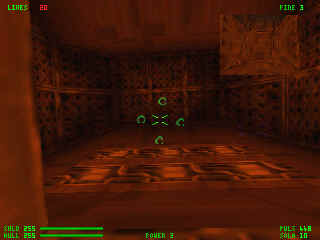
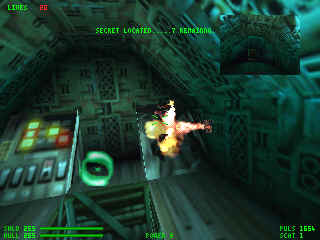
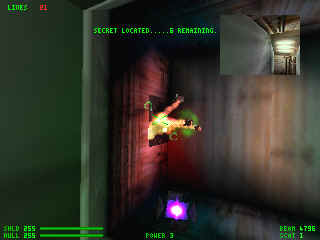
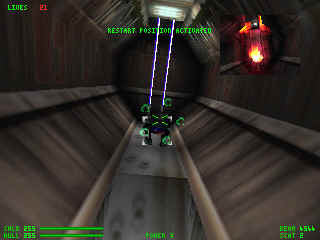
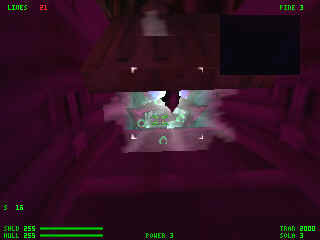
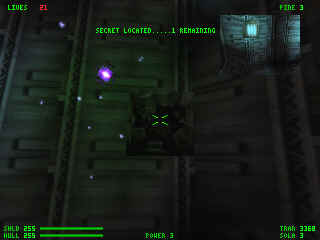
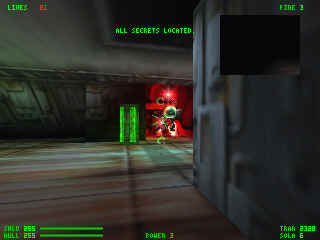
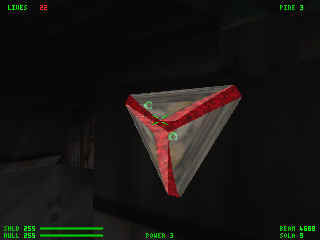
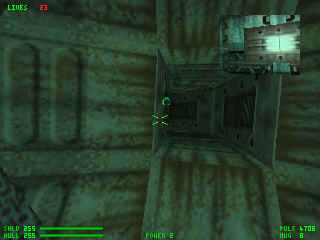
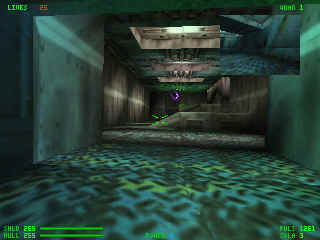
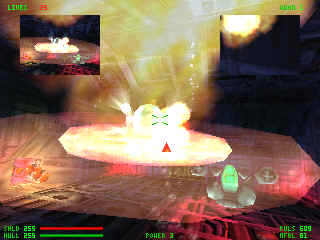
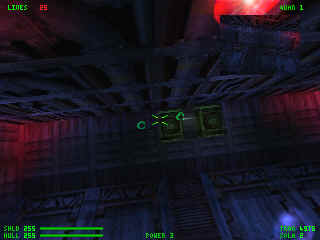
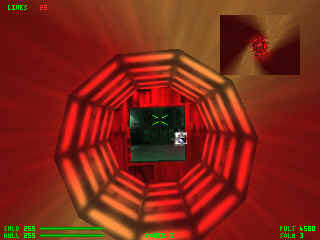
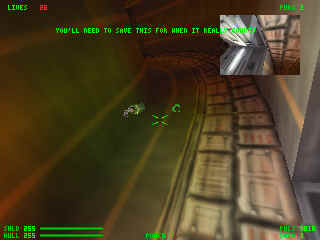
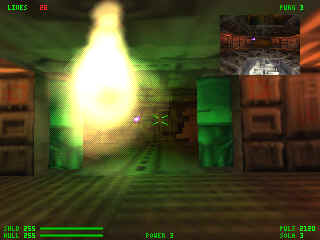
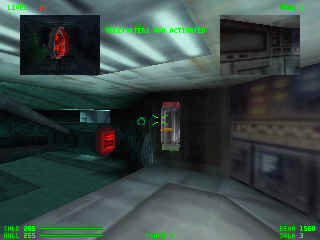
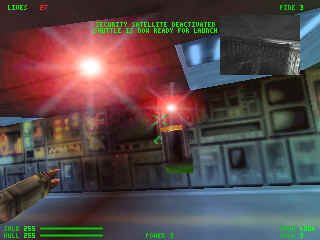
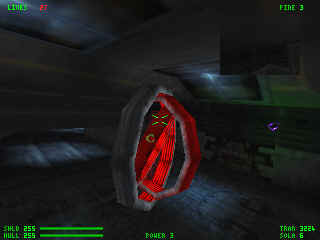
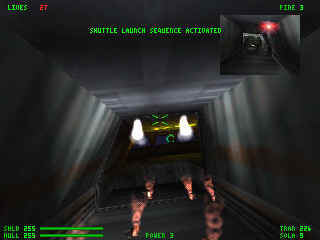
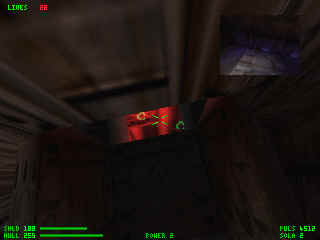
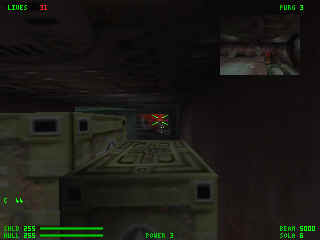
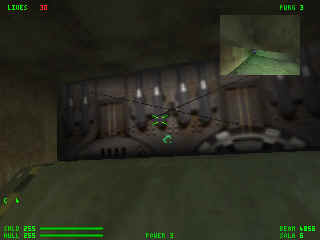
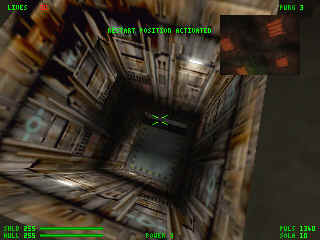
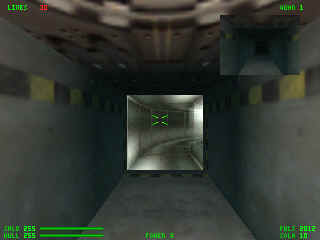
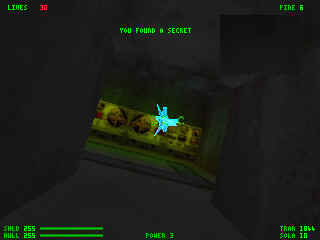
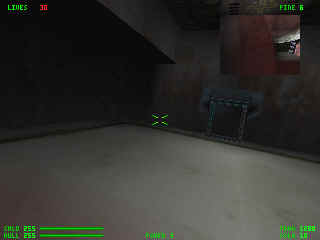
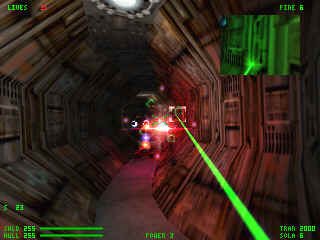
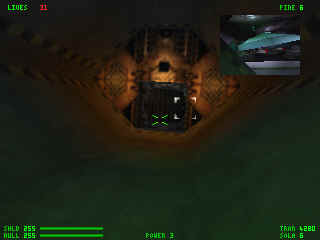
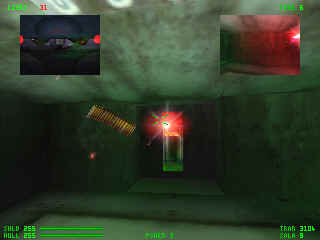
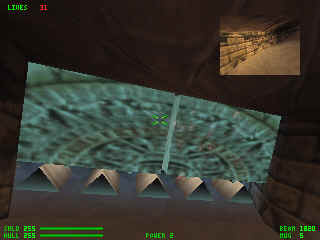
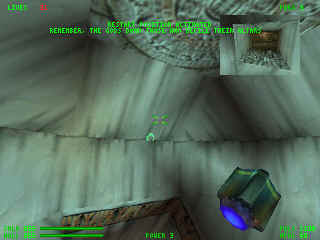
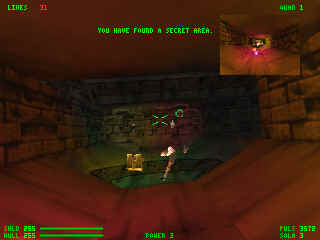
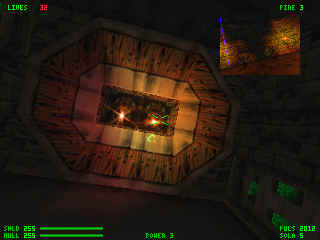
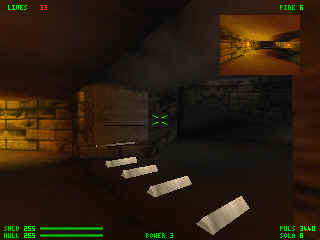
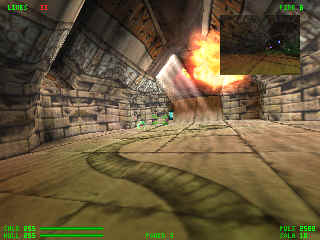
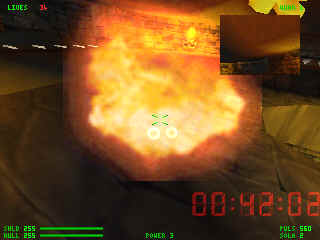
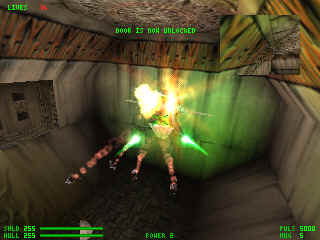
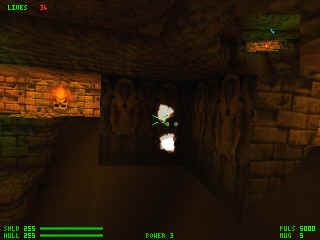
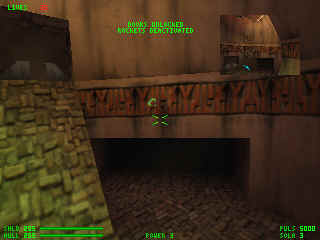
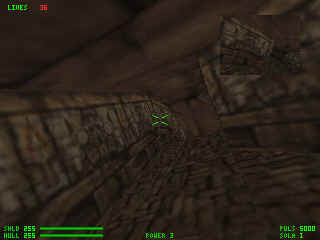
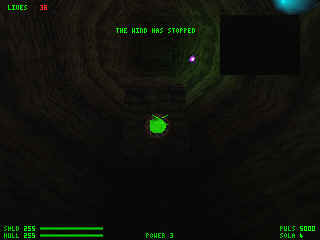
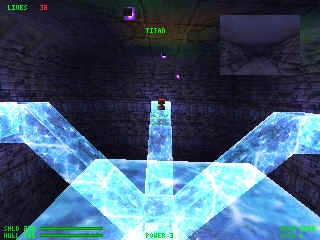
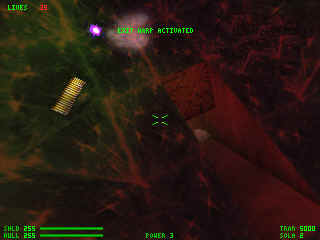
If you don't shoot those power backups, in the next room is a corridor that leads to this Titan - Secret #1
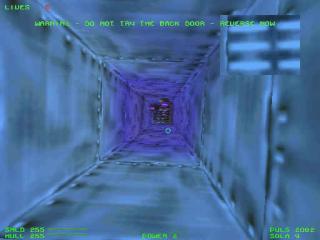
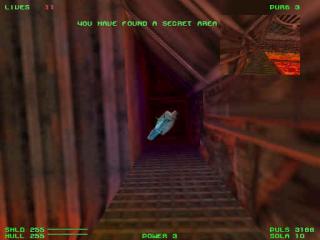
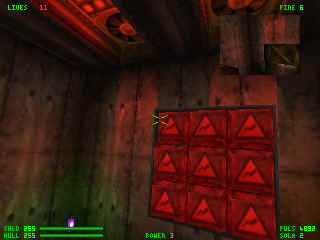
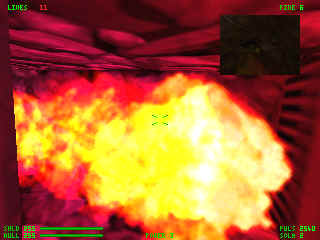
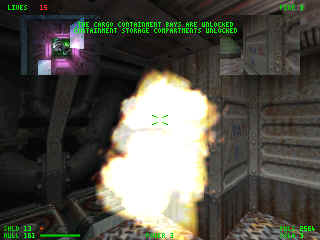
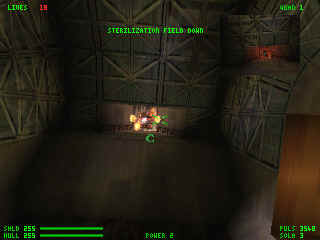
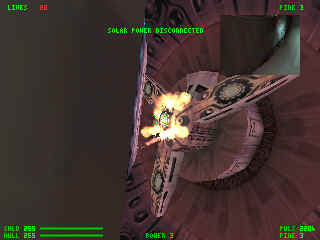
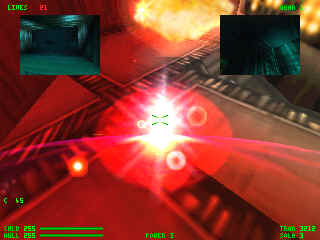
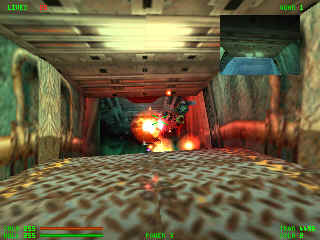
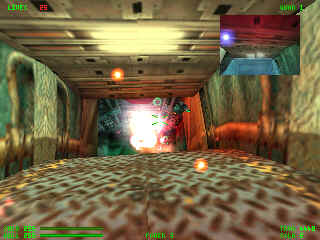
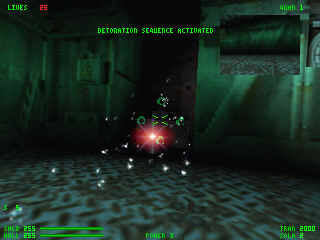
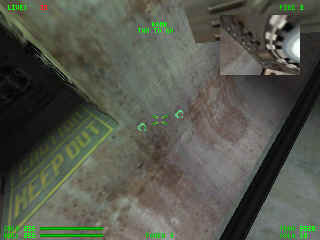
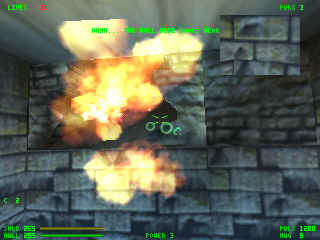
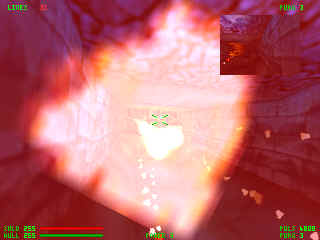
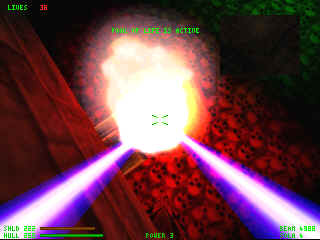
Here is shown what happens when you shoot the backup.
Notice the missile view is showing you that the secret room is closing
off.

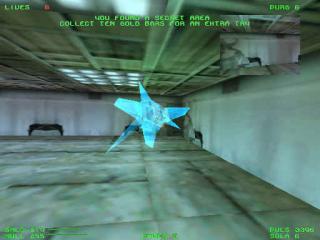
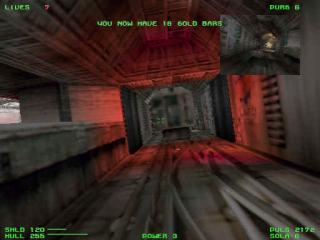
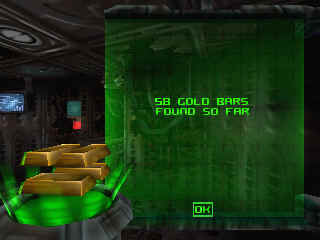
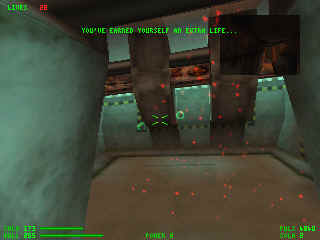
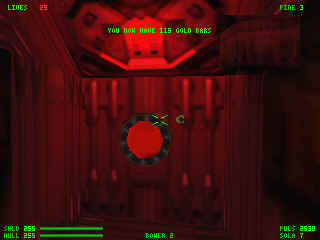
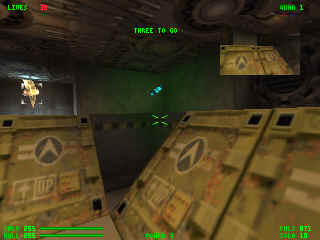
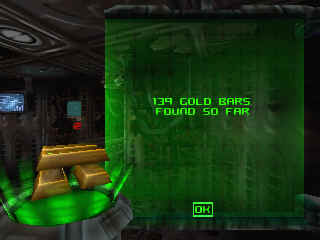
You will be able to get 10 gold bars in this level.
Getting 10 Gold Bars gives you an extra life.
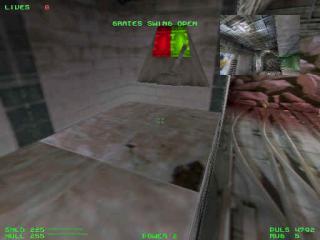
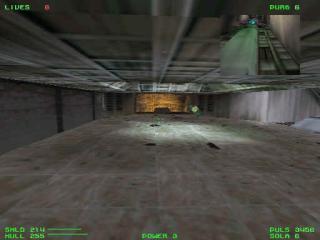
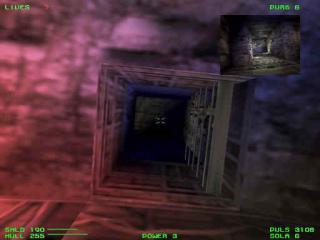
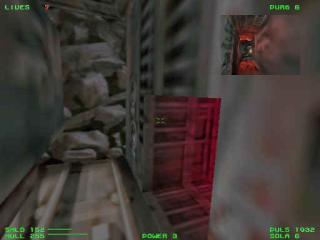
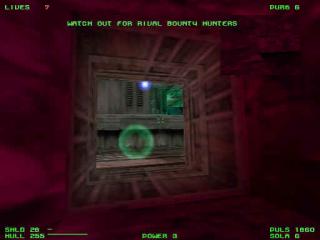
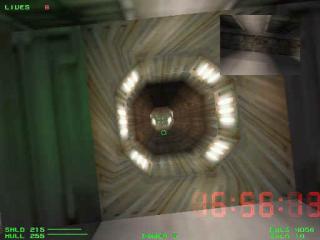
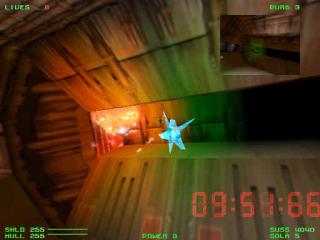
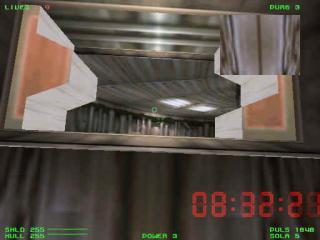
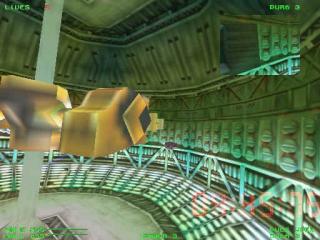
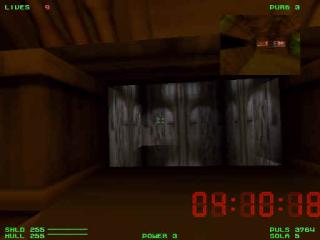
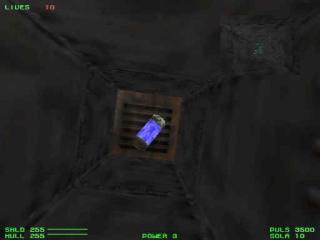
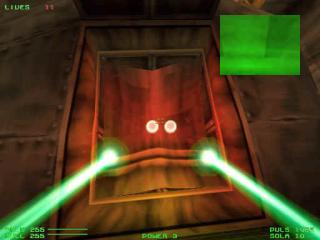
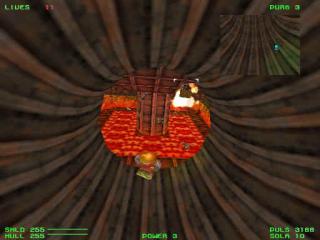
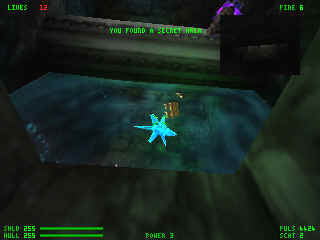
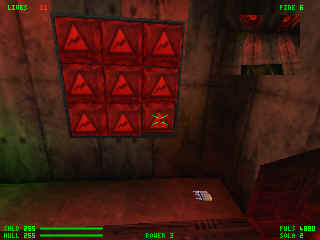
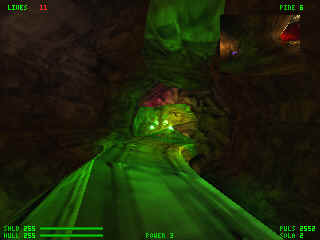
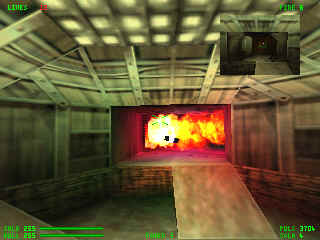
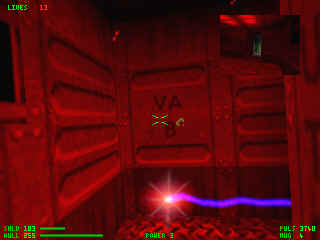
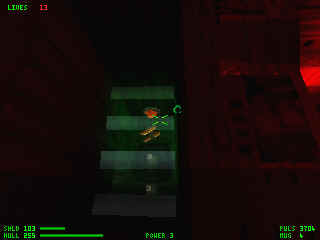
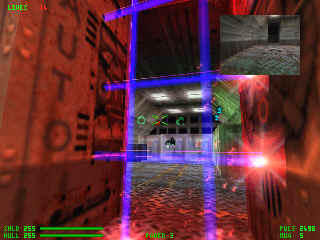
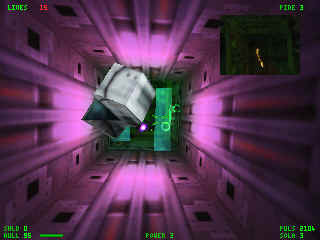
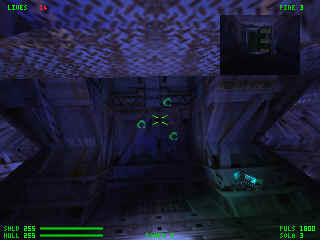
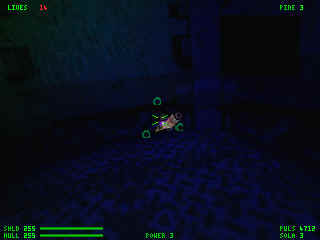
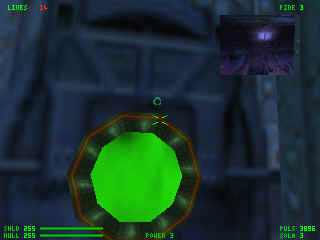
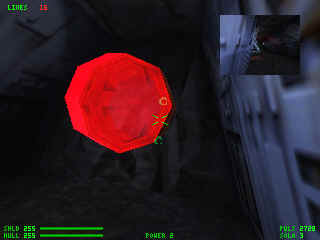
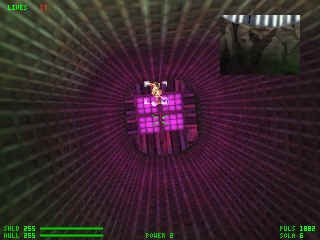
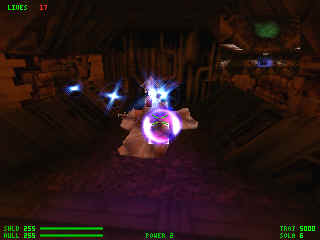
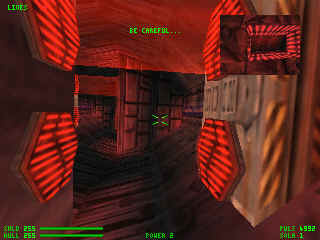
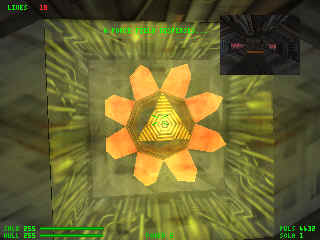
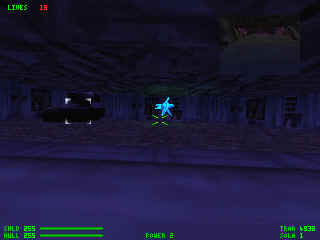
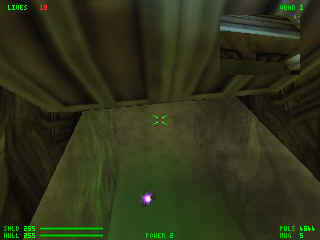
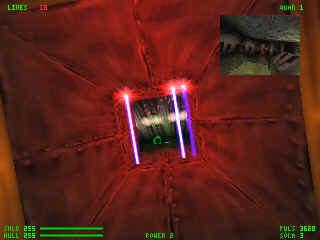
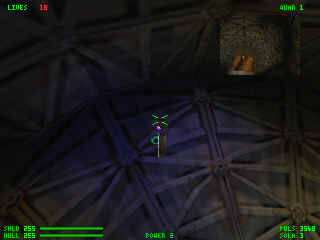
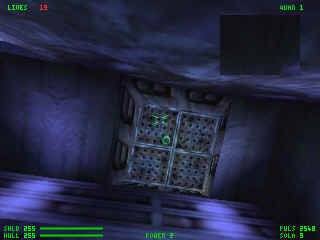
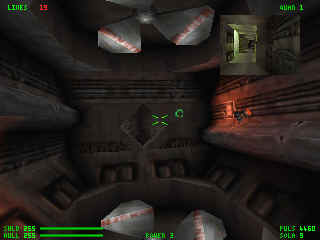
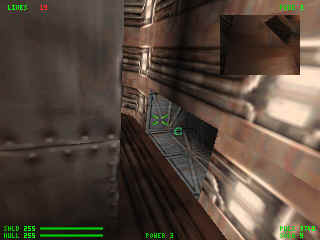
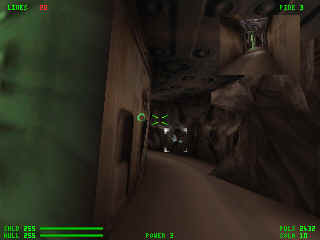
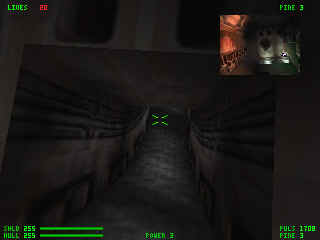
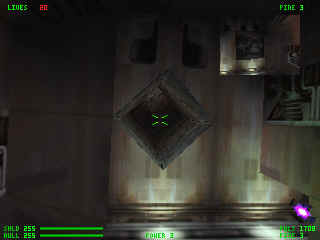
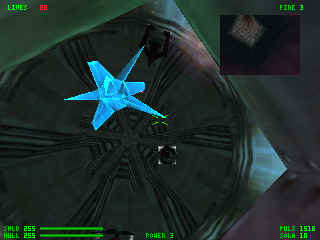
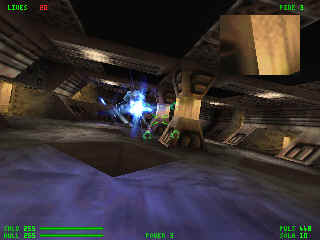
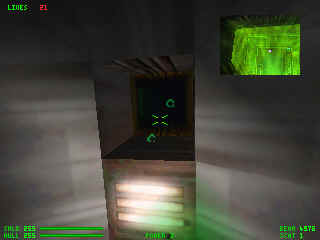
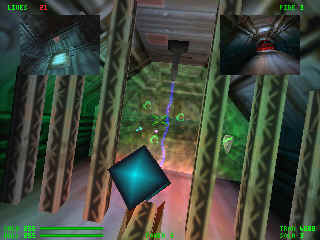
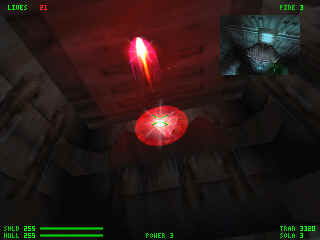
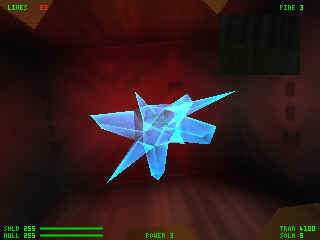
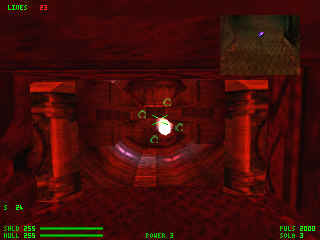
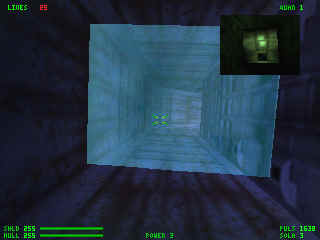
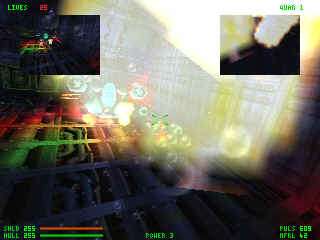
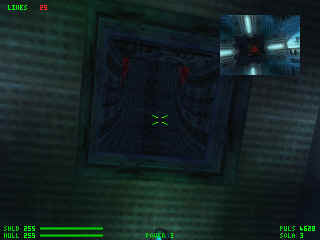
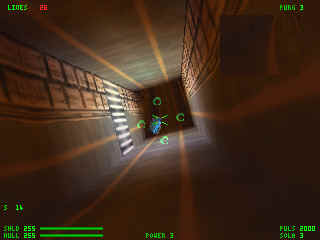
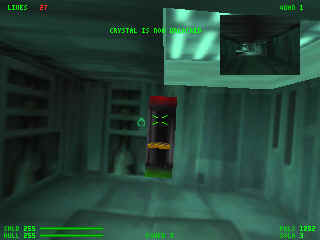
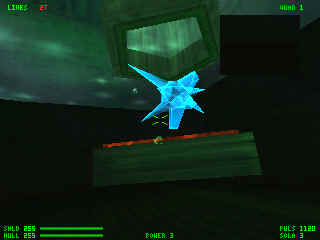
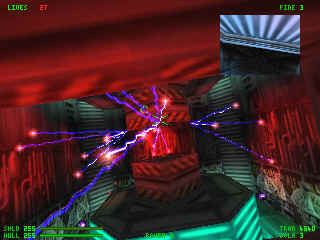
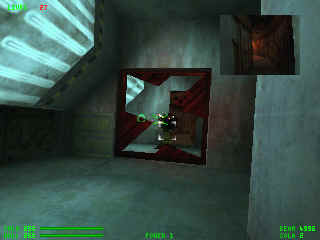
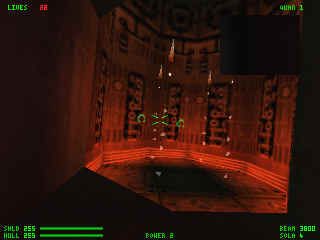
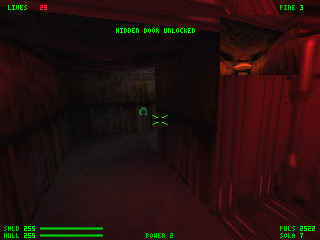
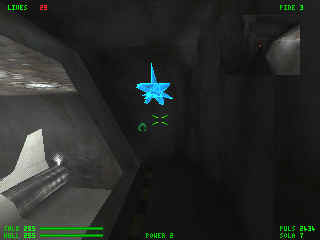
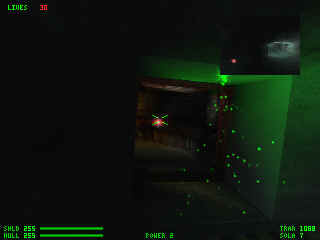
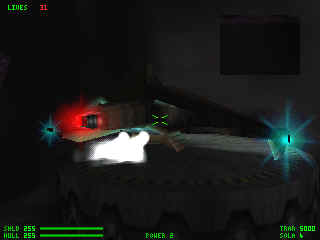
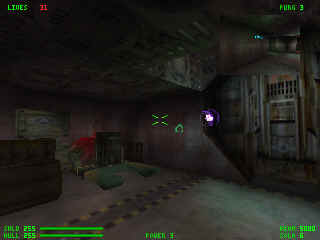
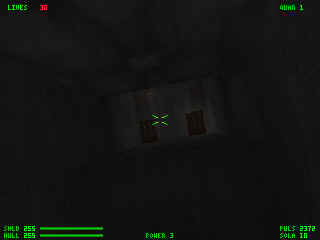
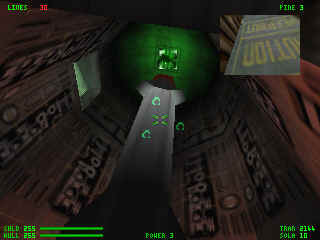
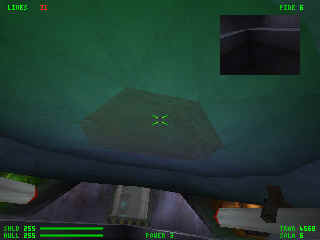
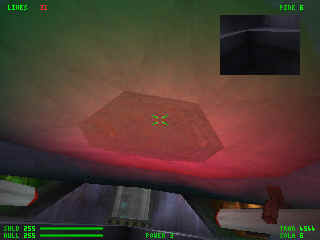
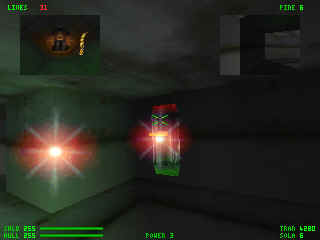
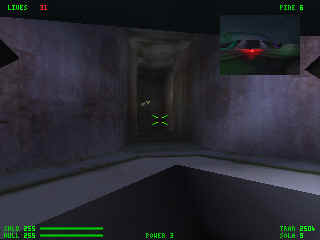
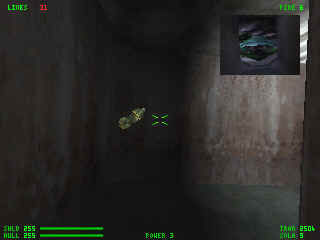
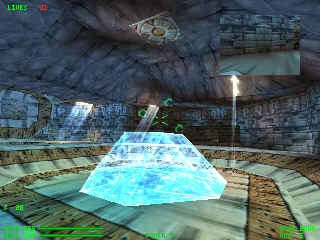
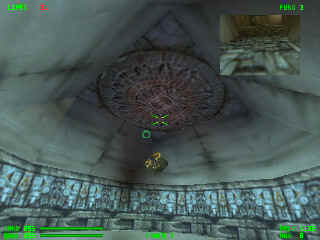
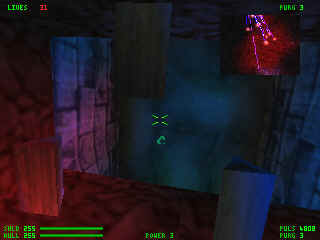
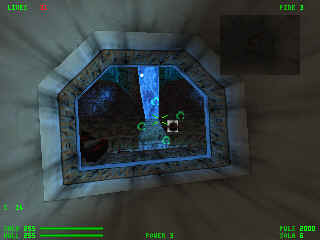
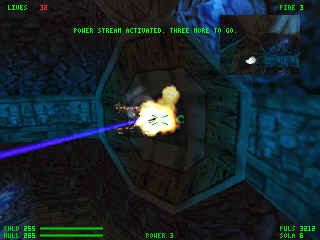
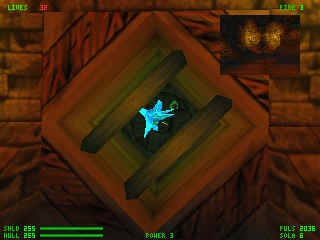
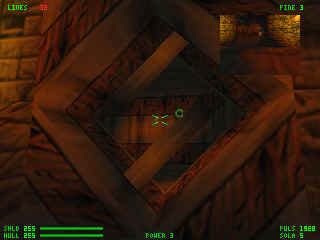
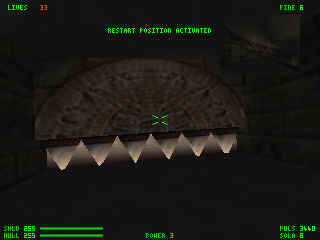
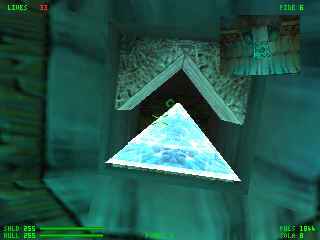
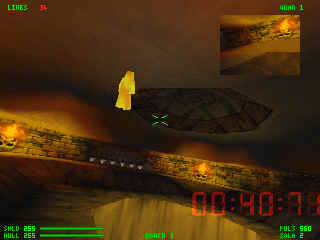
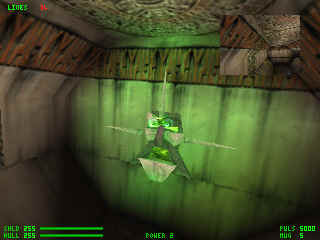
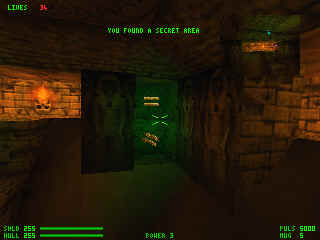
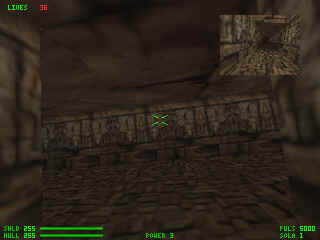
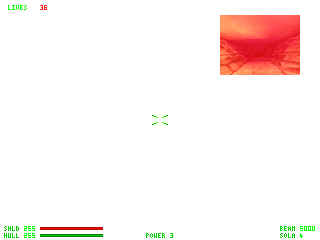
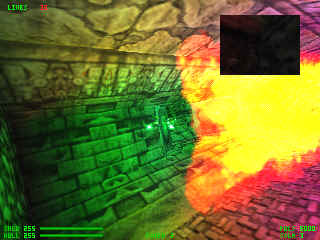
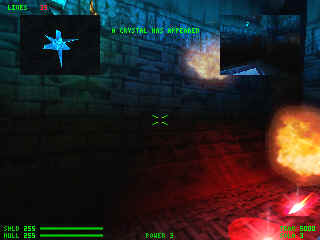
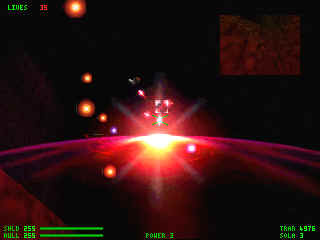
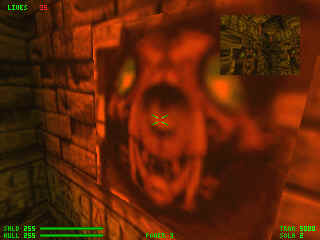
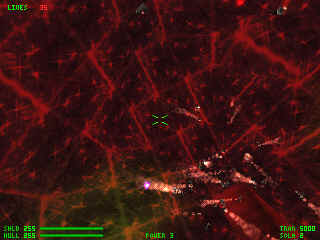
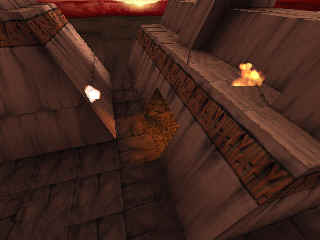
See that Star Shape?? Off to the left.
Shoot the hell out of it, and this happens.
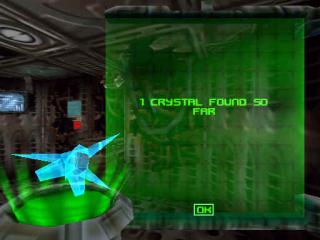
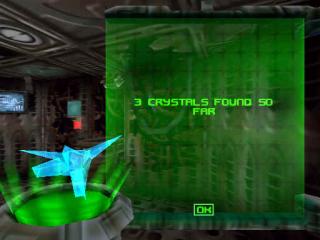
What's this? A Crystal!! :) Grab it.
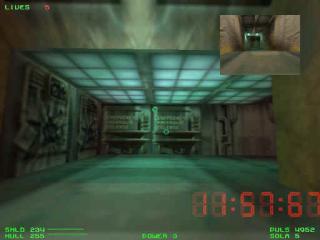
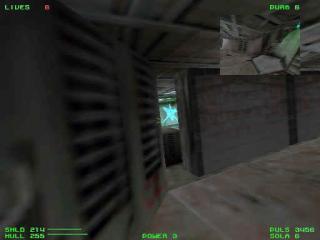
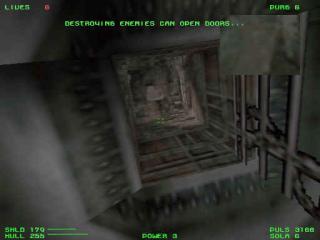
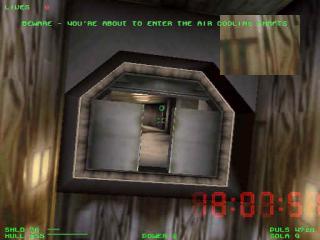
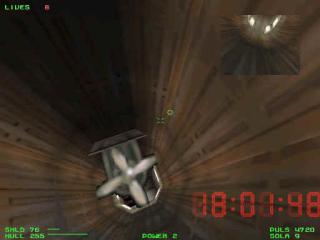
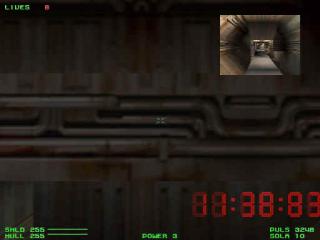
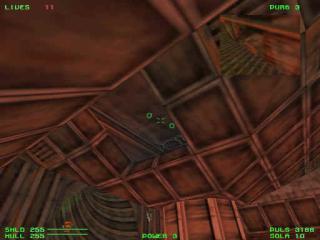
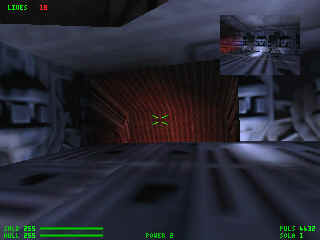
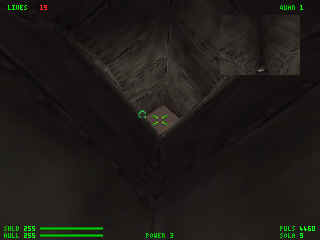
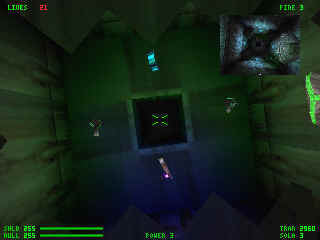
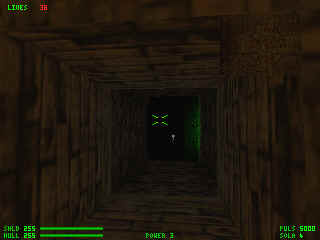
Just go in here and be careful.
I recommend the Susska for those pesky Purge Mines.
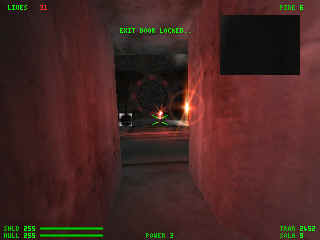
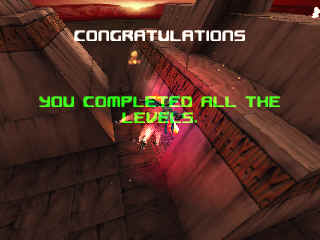
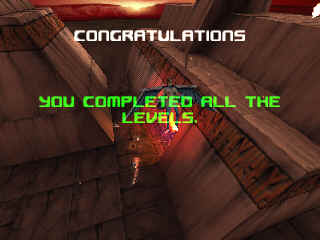
And there's the exit.
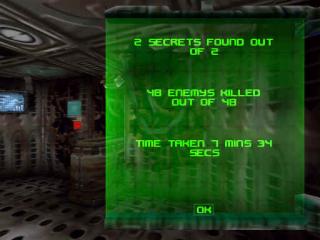
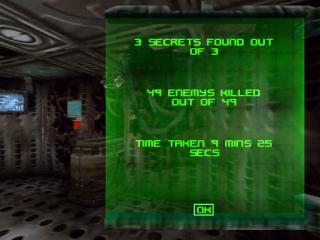
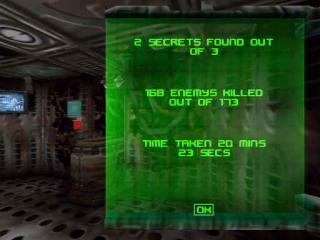
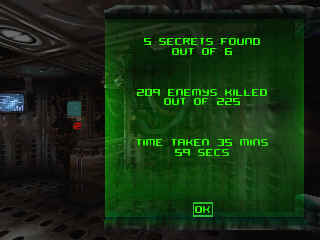
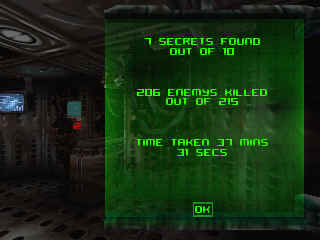
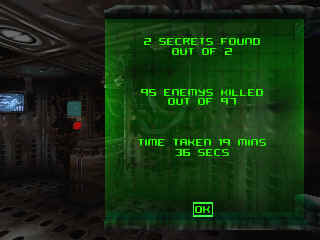
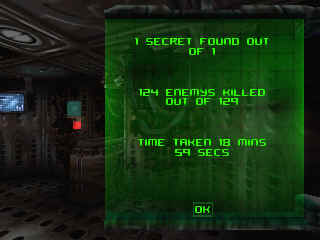
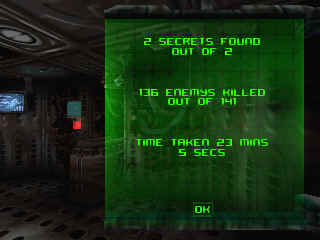
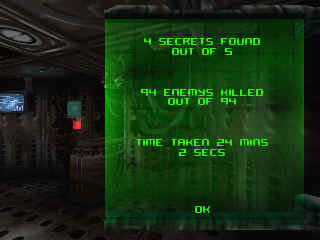
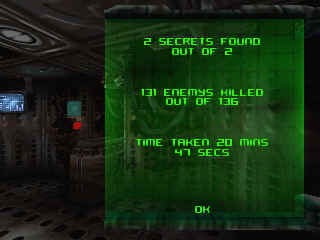
Perfect Record!! :)
From here on out, I don't think I'll be getting all the enemies and
secrets, but it's something to shoot for. :)
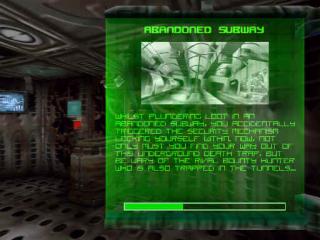
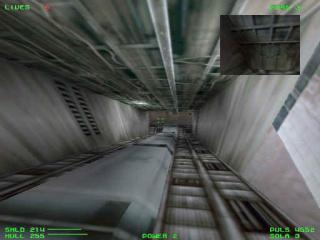
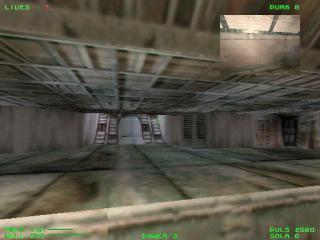
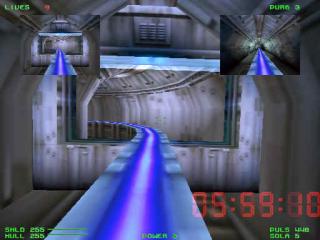
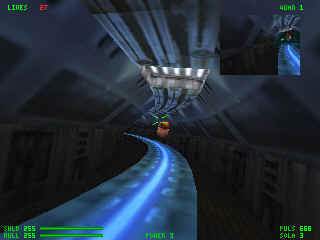
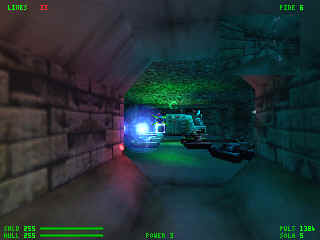
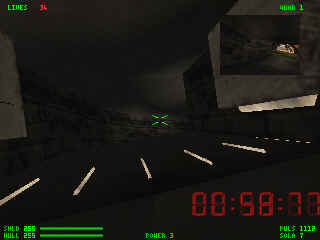
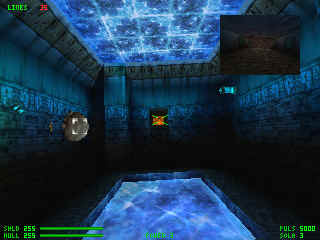
Level 2 - Abandoned Subway. Back to Index.
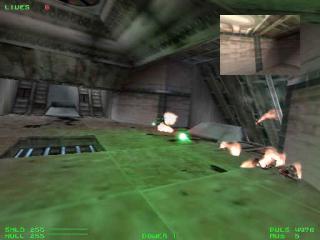
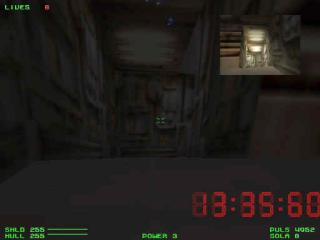
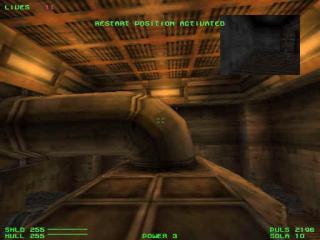
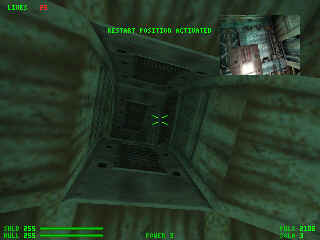
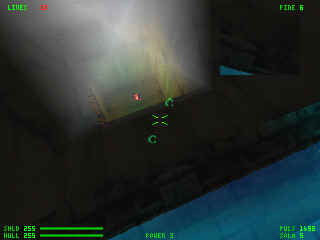
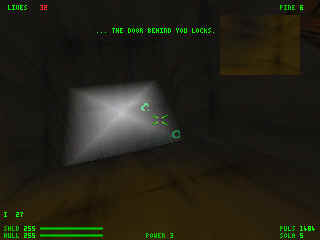
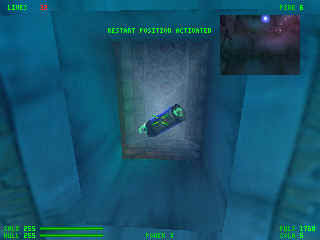
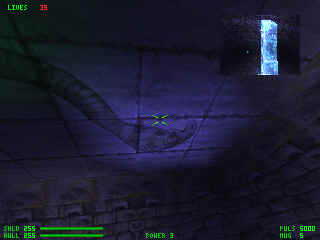
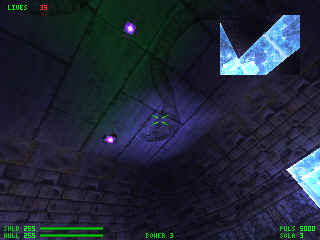
Go back to the starting position and go down the open grate.
Well, let's just say it's not pretty.


Well. So far, so good. All secrets and all enemies killed up to this point.
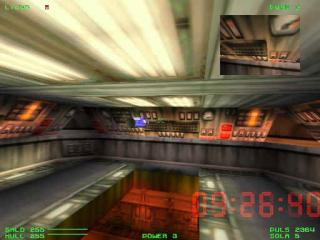
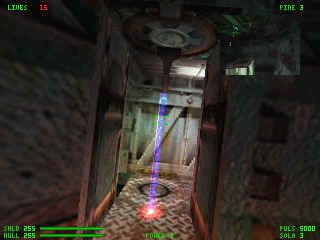
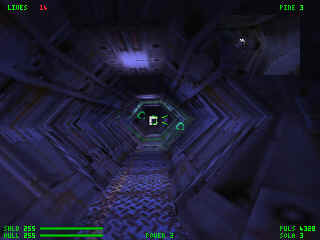
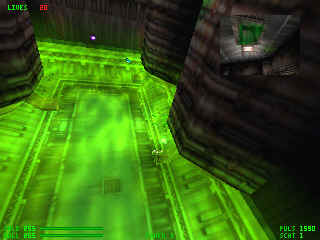
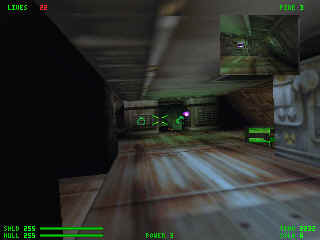
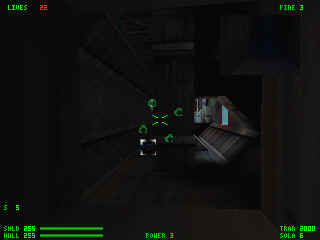
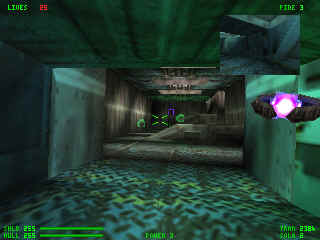
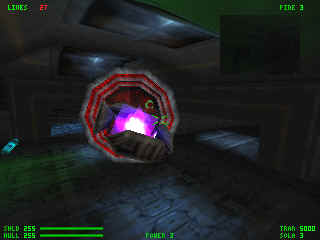
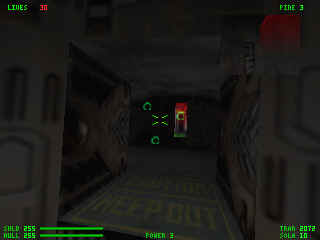
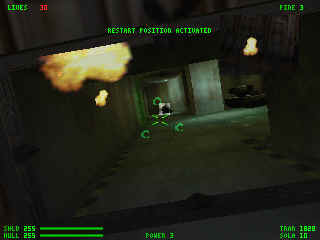
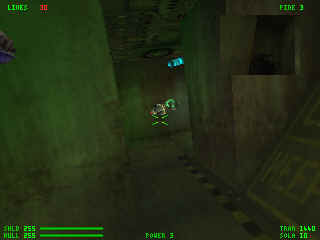
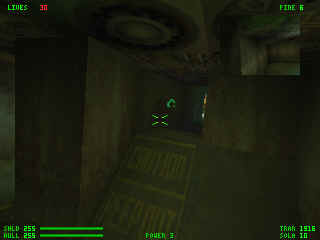
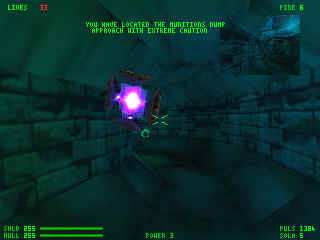
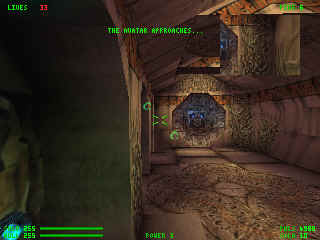
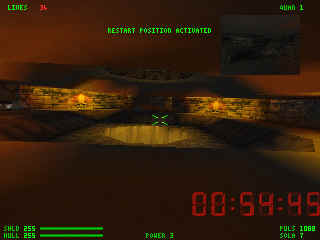
Level 3 - Nuclear Power Station. Back to Index.

Daniel (Target) and Chris (Stench) gave me an update on a secret right here.
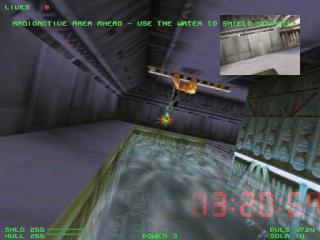
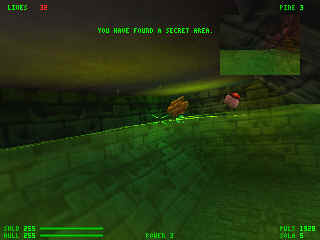
Daniel's - On your Forsaken walkthrough you indicated that you missed a secret in the Nuclear Power Station. The one you missed is actually a bitch to find. In the room with the radioactive crane thing right behind the corner where the turret was :) is another vent panel like the one that the Titan was hiding behind earlier. You can shoot it from under water and then use Nitro to get into the opening quickly to minimize radiation damage.
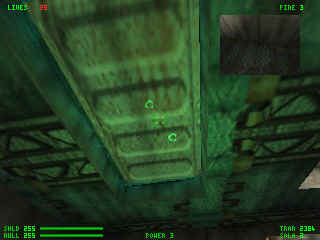
Chris's - Here's a secret I found missing from your excellent walkthrough. On level three, when you enter the water in the radioactive area, turn the first corner and smoke the turret. Now if you look above where the turret was to the outer wall, you'll notice that it has a different pattern - three square panels, blast 'em to reveal a life up, two shields and some gold bars. You don't take rad damage in the secret alcove but you will getting to it, so use some Nitro if you have some left.

I just got an update on this area from Clutch.s
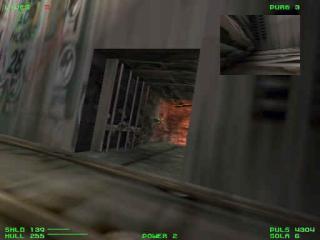
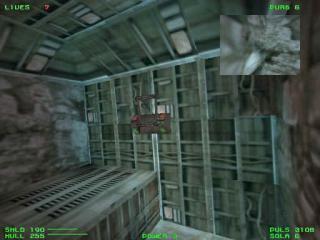
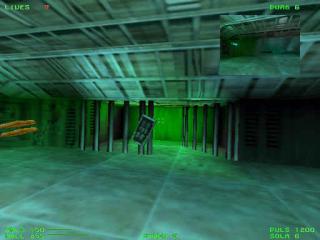
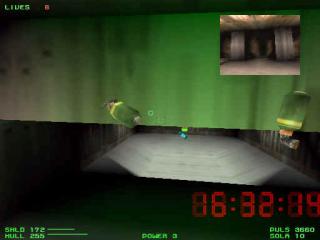
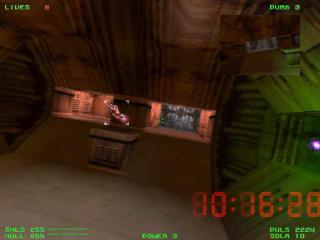
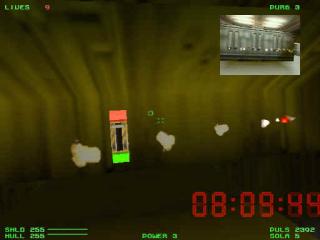
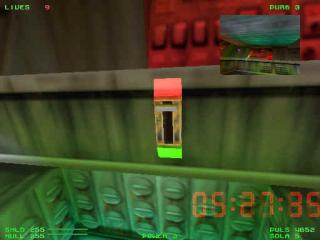
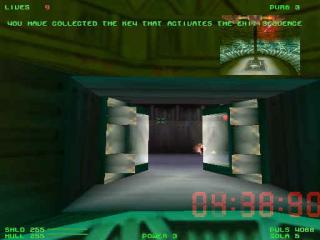
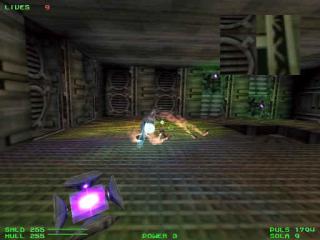
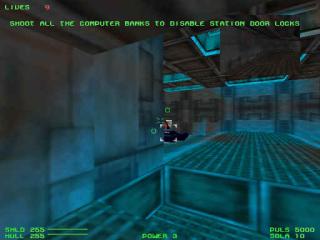
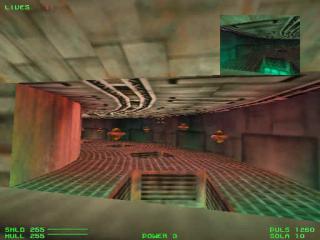
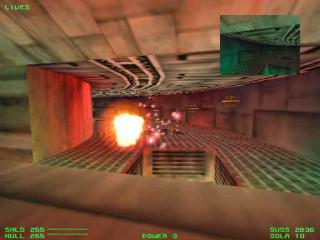
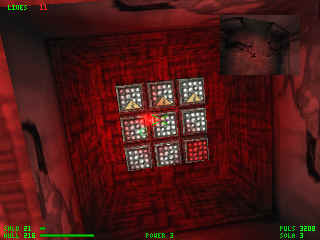
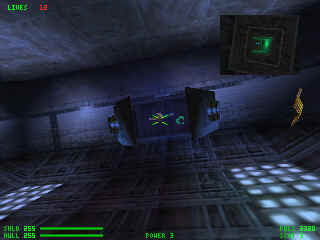
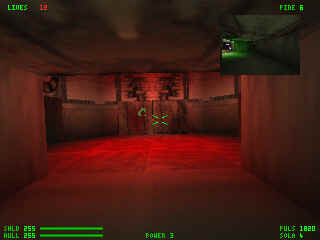
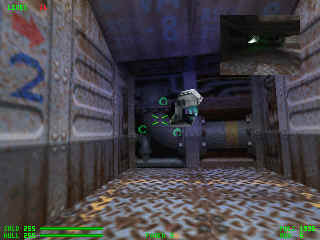
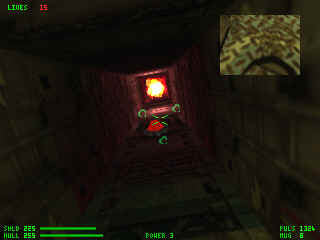
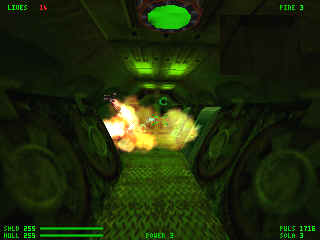
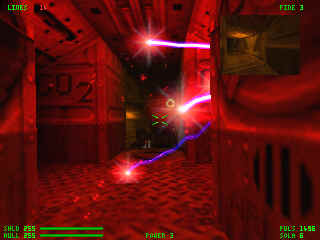
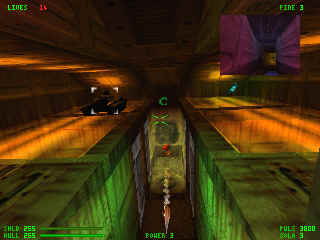
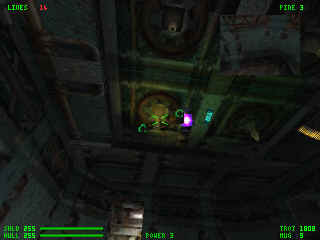
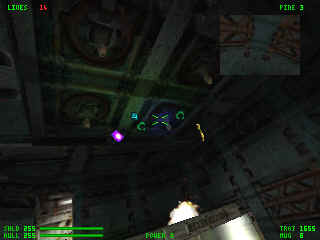
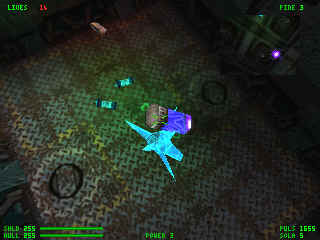
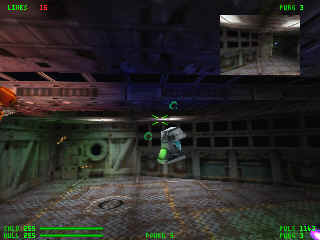
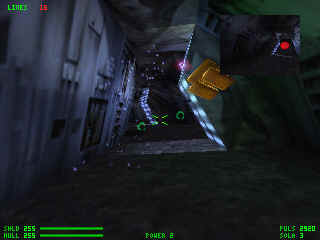
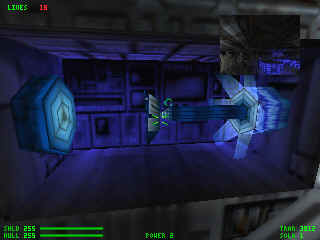
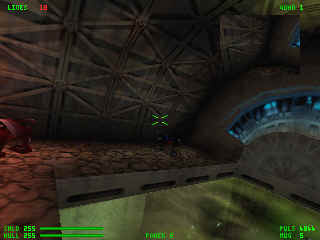
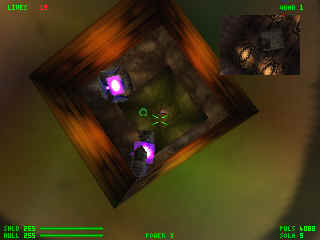
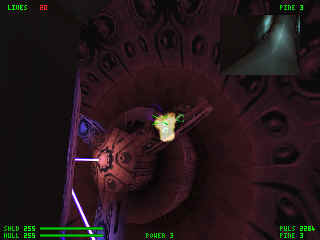
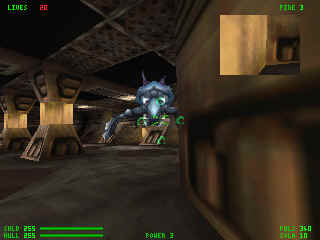
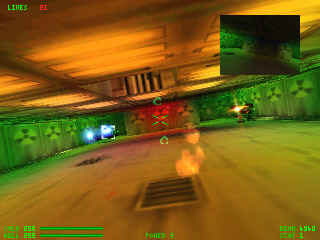
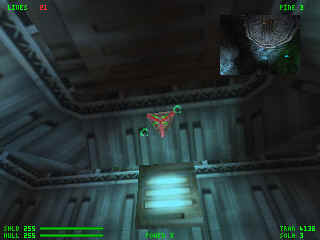
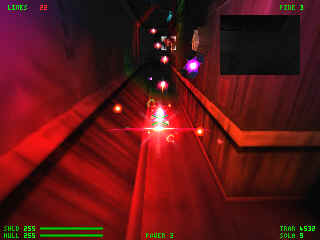
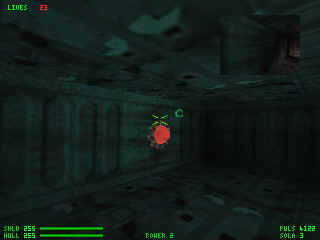
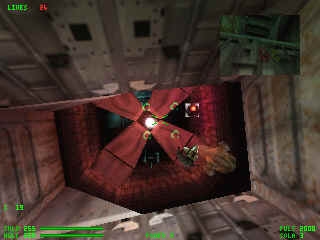
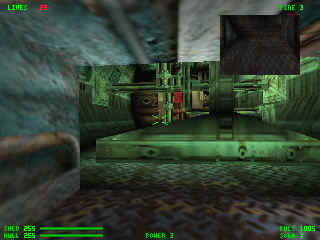
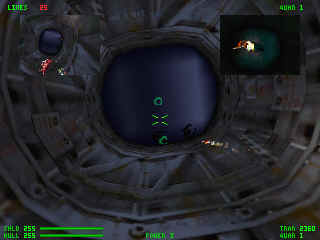
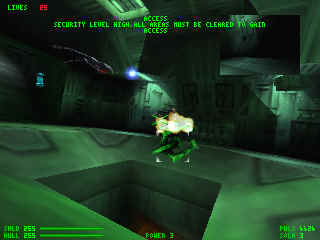
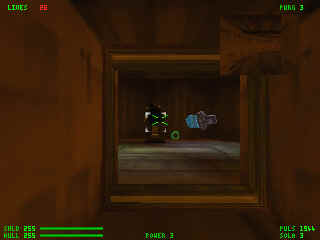
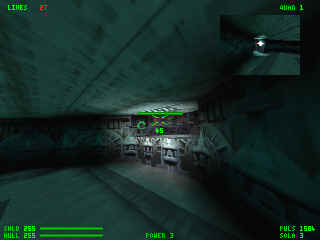
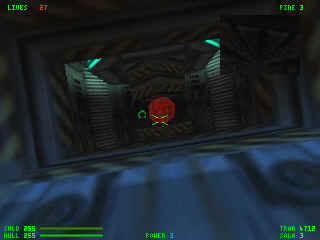
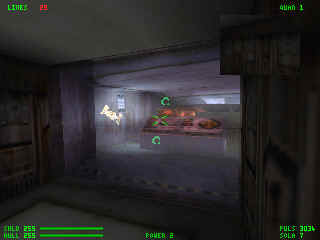
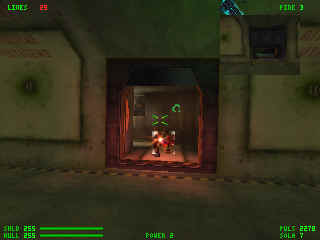
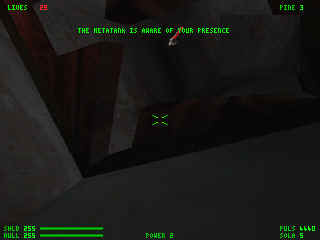
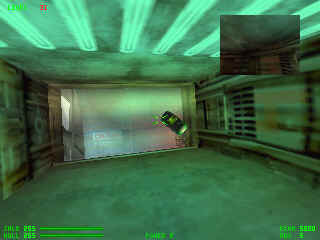
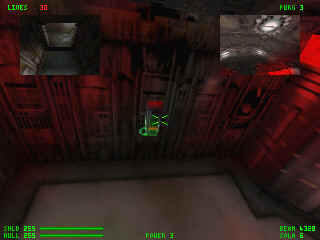
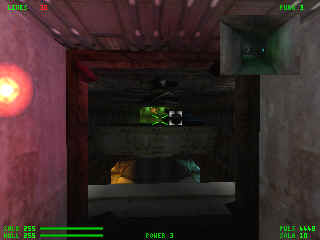
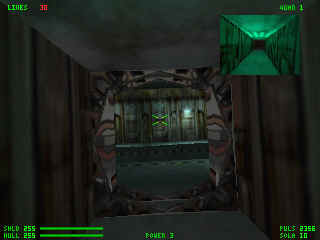
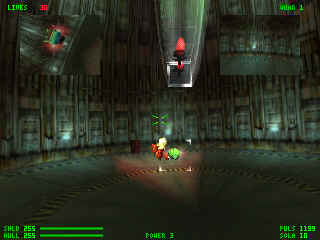
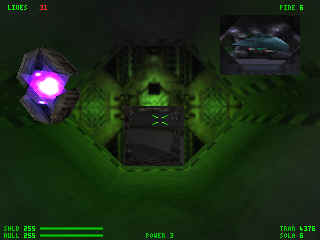
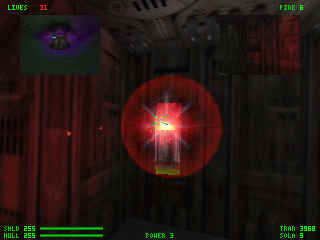
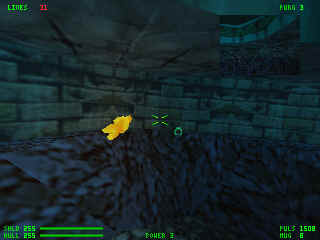
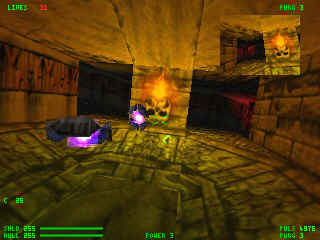
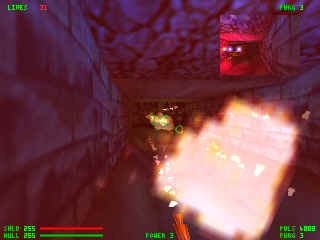
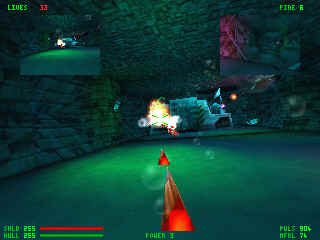
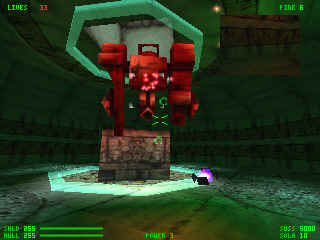
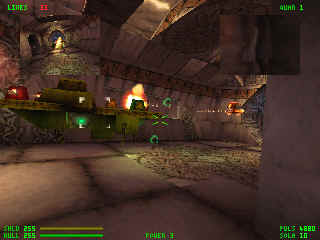
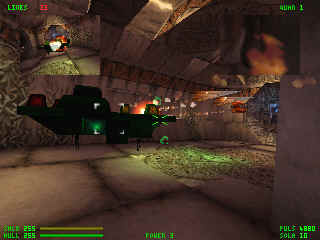
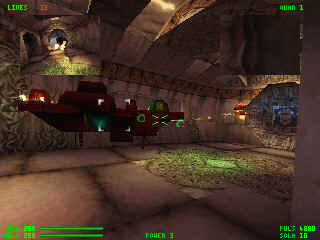
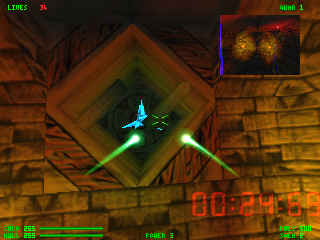
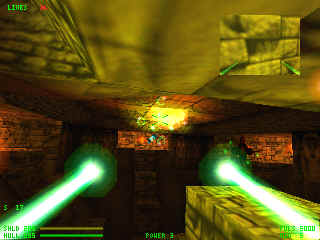
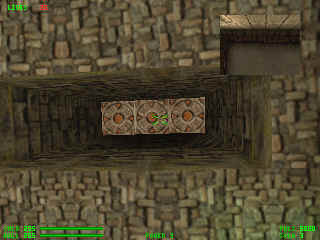
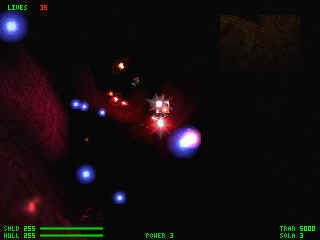
Great job on the walkthrough. What you might want to add for level 3 is that before you shoot all the barrels, go to the room just to the left of where Nubia comes out and shoot the vent in the wall about ten times, there is a Titan in there. Drones will come out behind you right after, kill them and finish the barrels. Then fire the Titan when Nubia comes in and DUCK. The Titan finishes her in one shot (and you too if you're not careful ). This vent I'm speaking of is visible from the main chamber with the barrels in it. In the walkthrough of level 3, you have a picture of Nubia (the bounty hunter) in the sight of a Solaris missle. Just to the left of her in the background is the vent with the Titan! Hope this helps.
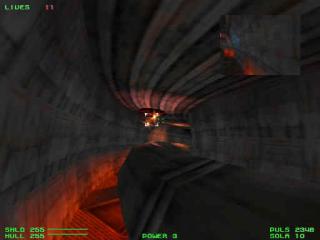
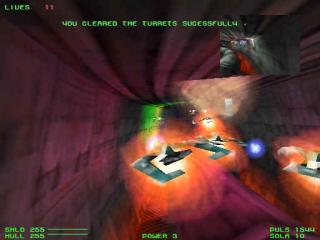
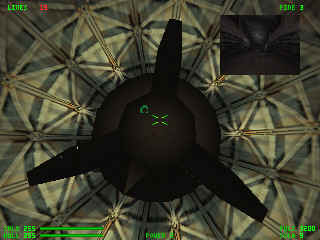
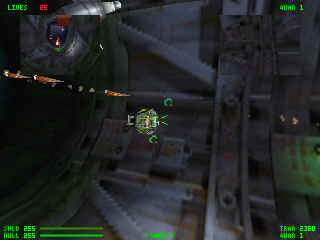
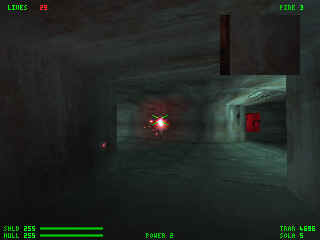
I wanted to comment on the Resnic Reanimator on the nuclear level (3). The easiest way to get throught this with killing everything is to grab the reanimator while upside down, then taking out the four turrets from the safety of being 'below' them. One drops a Titan, so just use that to take out the four turrets that appear in the room below. Quick and easy =).
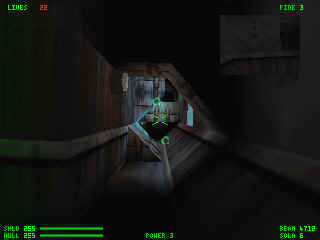
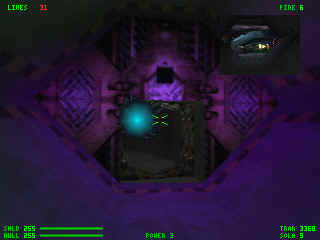
Go UP the shaft on the right and you'll be taken to another switch.

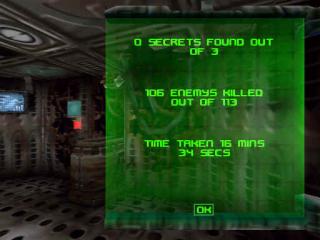
I unfortunately did not get all the secrets. I thought I got at least 2, but apparently, the game didn't think so. Oh well, so much for the perfect record. :(
Chris (Stench) from above, filled me in on the
third secret for the level.
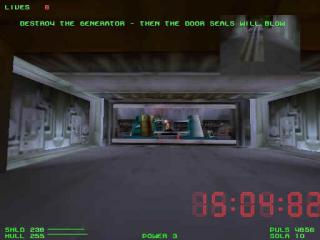
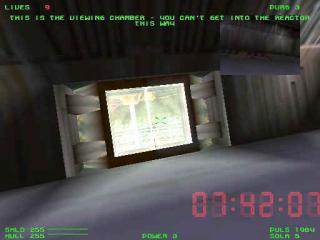
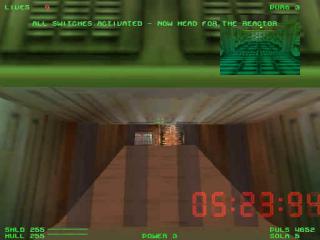
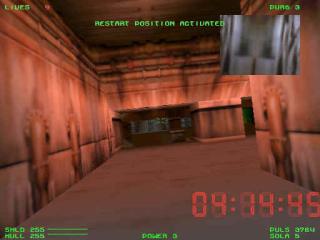
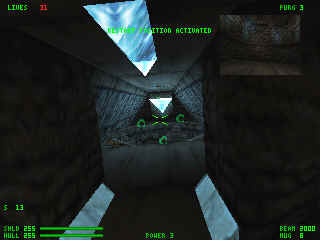
I just finished level three with all three secrets. I think the
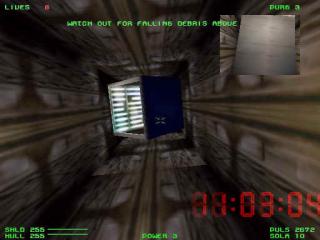
last one is just after the reactor room. As you get to the reactor
exit doors a floor panel in the next room explodes. Head down it to
find a turret which when destroyed rewards you with some gold bars.
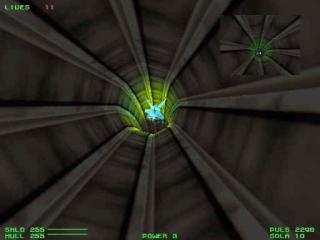
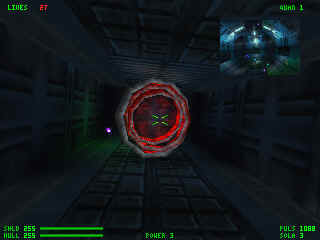
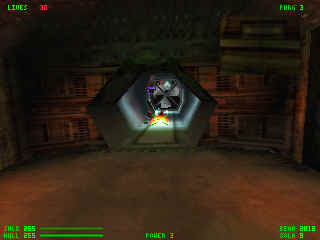
Carry on through a circular tunnel to be deposited right in front of
the exit.
Level 4 - Thermal Power Station. Back to Index.
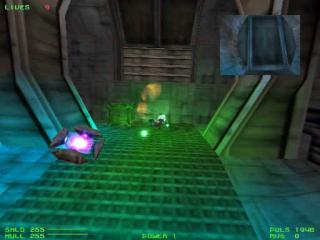
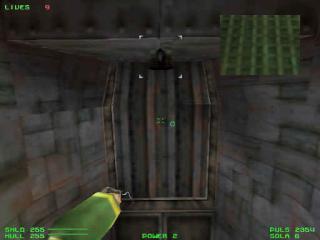
I just got an update from Oblivian on a secret. As you pass through the corridor that has the missiles that shoot from the bottom of the floor there will be a door. Shoot the door. At the top right hand corner of the door is the secret, enter into it and there will be a gold bar and I think a life (SECOND SECRET).


Level 5 - Federal Bank Vault. Back to Index.
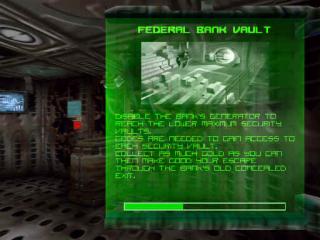


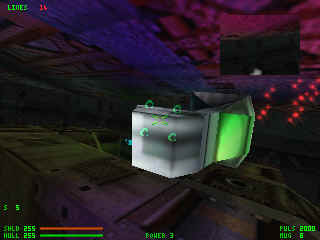
I just got this update on a secret from Cool Hand Luke. In the Federal Vault level, there's a secret in the room where you get the Safe Key that you didn't comment on. You can go in there, collect everything, blow up the generator panel, kill everything and let your shields get drained to cheese, because... if you maneuver your bike into the little "cubbyhole" directly across the room from the generator panel (the one partially blocked by a stack of silver bars), you get a full energy (shield) recharge to 255.


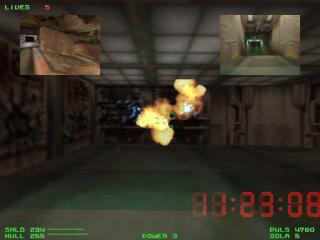
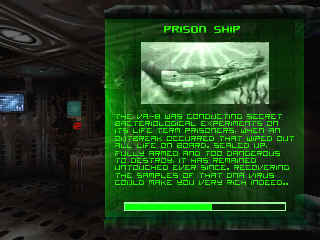
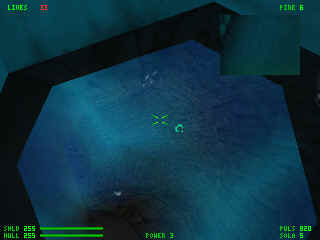
Level 6 - Prison Ship. Back to Index.
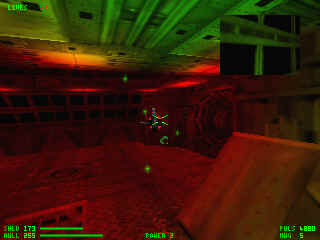


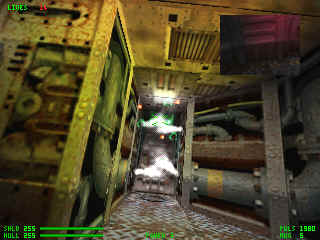
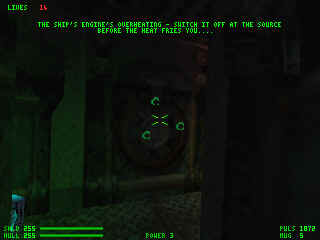
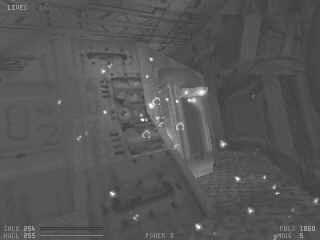
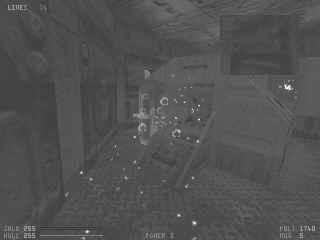
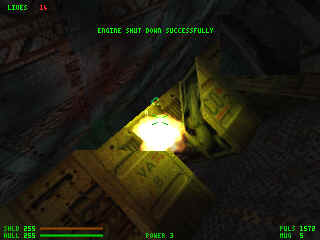
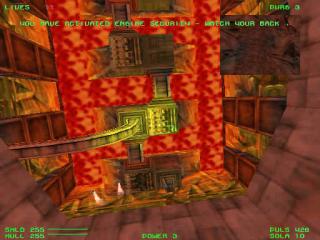
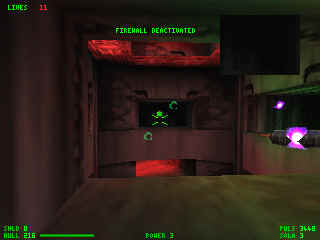
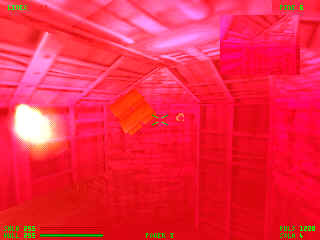
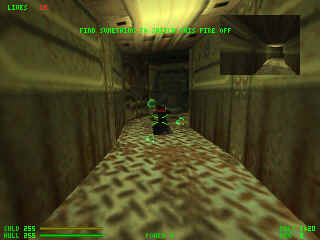
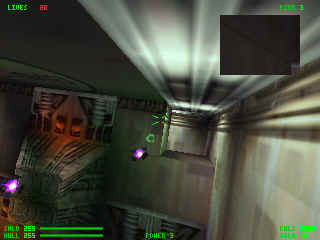
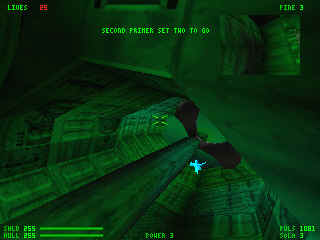
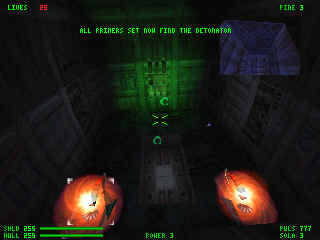
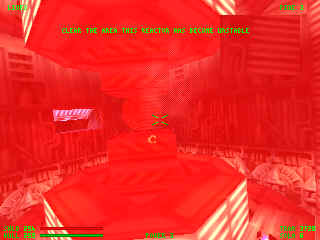
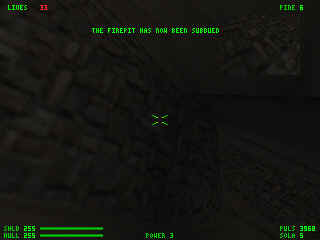
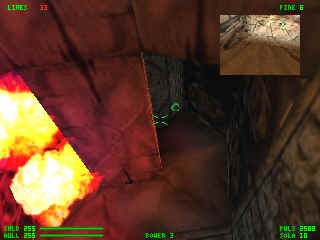
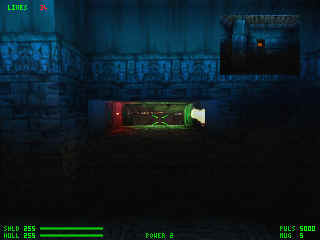
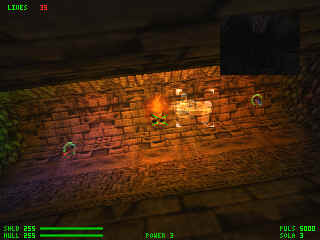
DANGER Will Robinson!! Had to turn 2 of those to greyscale because they were mostly RED from the overheating. Go in, turn around, and shoot the two switches. Then there is a button that shows up in the middle. Shoot it, and you've shut down the engine.
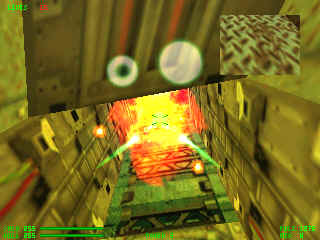
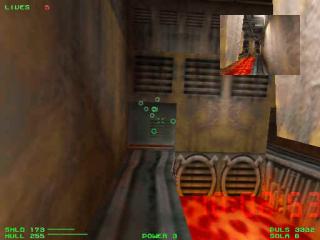
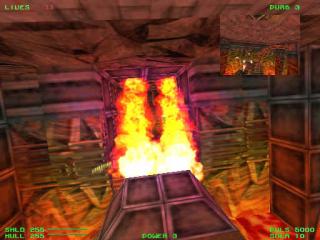
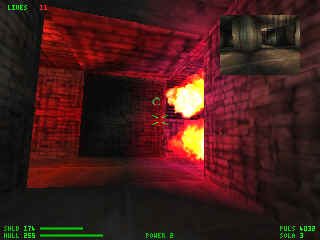
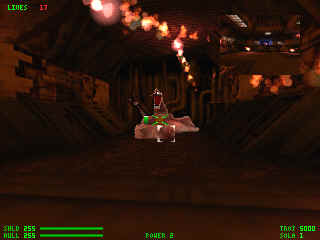
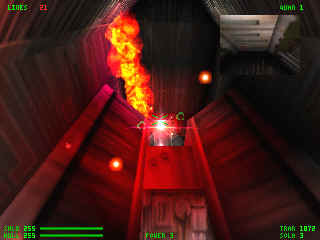
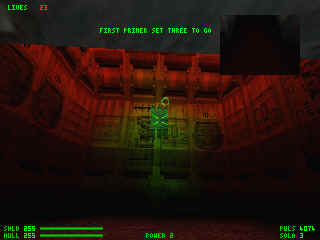
When you get to the Flames, shoot the button to turn them off. Timing is LIFE here.
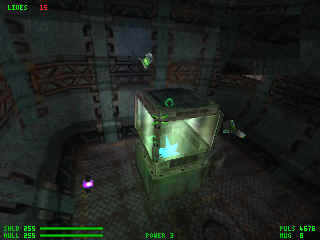
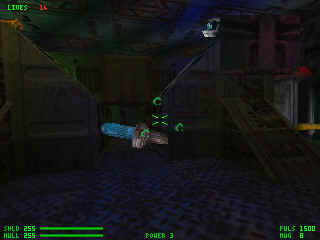
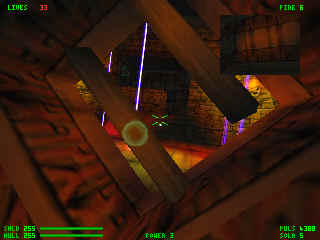
Use this lever for the crystals.
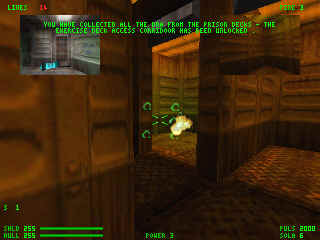
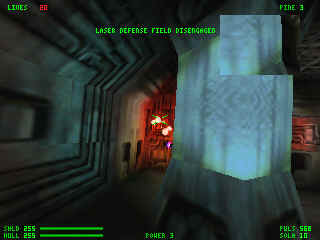
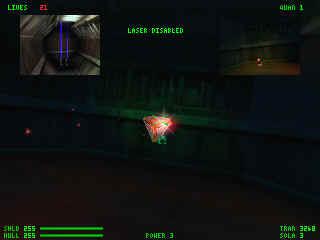
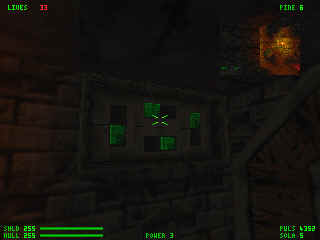
When you get here, don't try and get the crystal just yet - You still need a weapon to access it. Shoot the button behind the gold bars, and you can get the DNA. Shoot all enemies to turn off that pesky laser, and proceed.

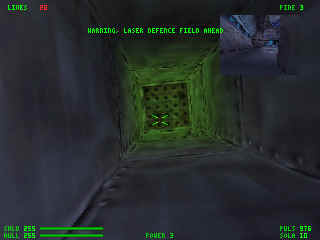
Keep going, and get ammo from the Armory. Shoot the double doors and go down. Shoot the switch to turn off the "Intruder Alert". Go Straight. Shoot the turret, then shoot the button. Stay there until things blow up. Go down all 4 tunnels in there and blow up all the boxes. You will get 2 DNA's and a Trojax (which is necessary to get the crystal). Then go back out and go down the side tunnels. You have to shoot the buttons to turn off the laser defenses, and then you can go into the side rooms. Shoot ALL buttons and ALL boxes in these rooms. Grab all the DNA keys and then head back out. Then head for the crystal.


Level 7 - Asteroid Base. Back to Index.
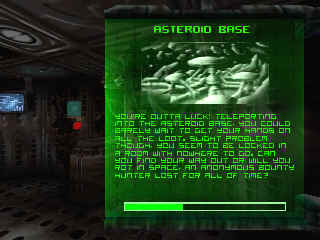
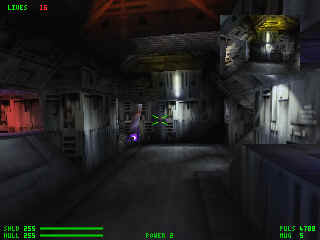
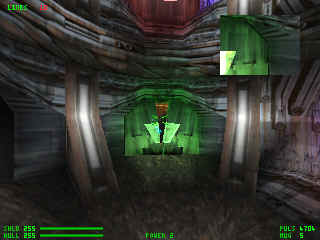
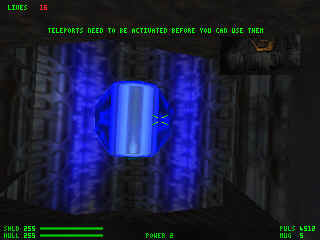


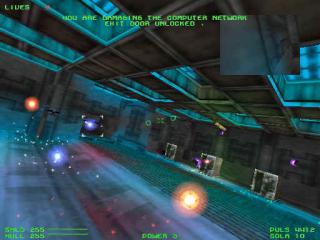
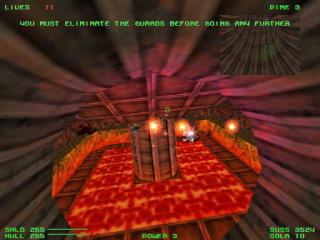
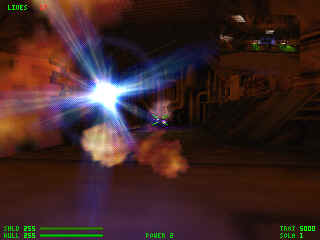
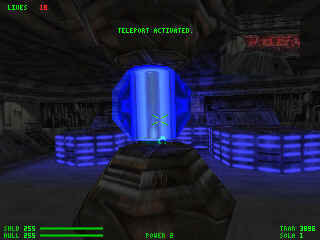
Pick a door and go down it. Kill everything. Shoot the switches. You have turn on the teleporter, and then you can open the central ring door. (that's the headphone switch again).
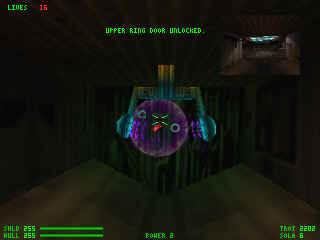

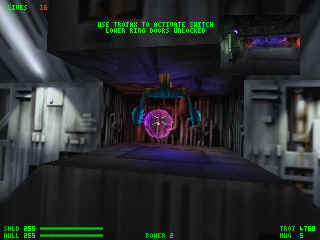
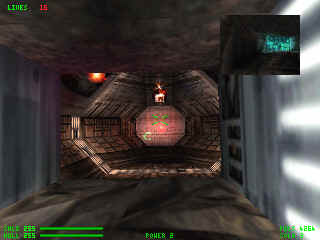
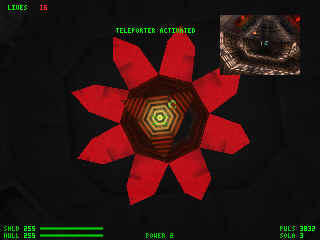
You need to go underneath those 3 green starships. Under there you will find a "headphone" switch to shoot, and a flower switch as well. The headphone switch opens up the "upper ring door" and lets you continue through the level. I cannot remember what the flower switch does. Thanks to Oliver for pointing out that this part was a little unclear on my walkthrough.

Level 8 - Biosphere. Back to Index.
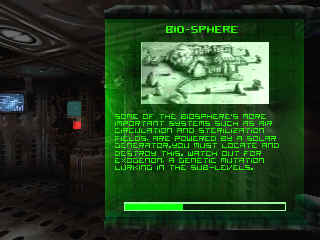
Donald tipped me off to a secret here. I noticed in your walk through of the BioSphere you only had one secret. The other secret is in the first room of the level. Shoot out the grating to your left.

You have to shoot the Junction box to turn off the lasers. When you come back to the room with the turrets, look for the hole in the floor. Leads to a secret.

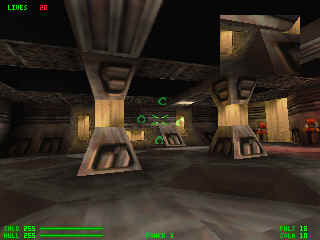

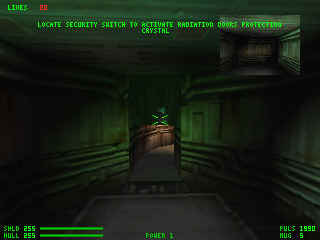
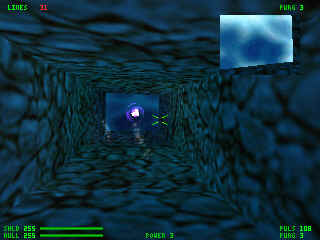
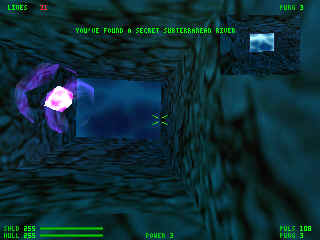
Level 9 - Subterranean Complex. Back to Index.


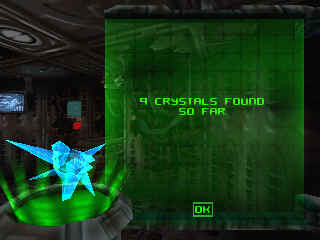
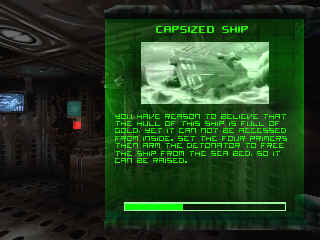
Level 10 - Capsized Ship. Back to Index.
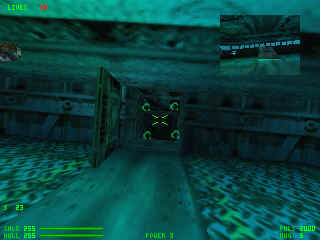
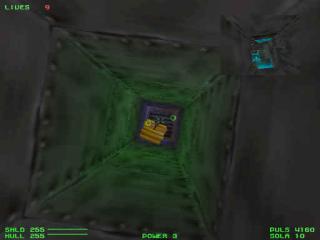
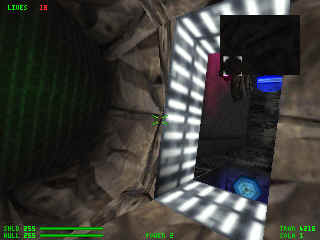
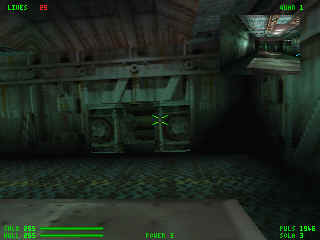
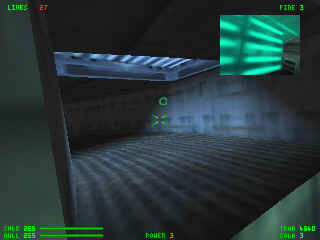
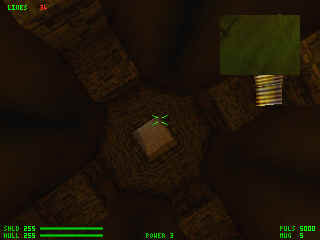
This is a Hard Level to explain. The first tunnel you need to take is the "Up" tunnel. This leads to the first junction switch, shown above. You have to find the button to unlock the door first - it's all in that narrow room.


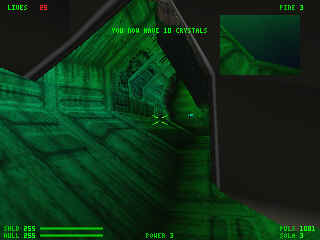

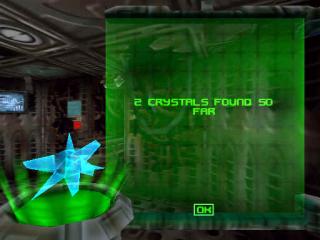
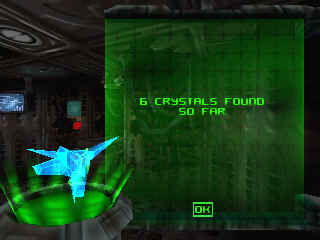
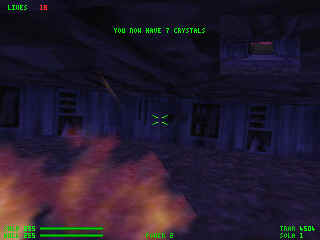
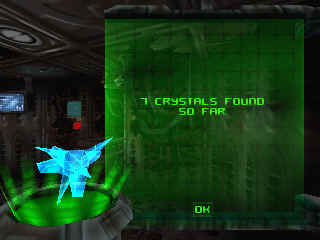
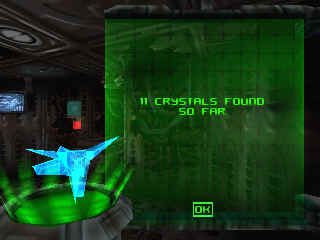
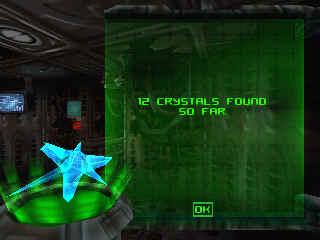
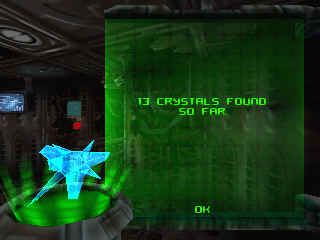
Man, I Can't Believe I missed the # of Crystals screenshot. I assure you, it said 10 crystals found so far. :)
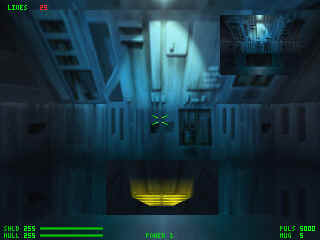
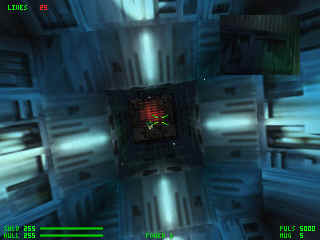
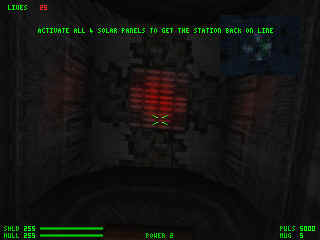
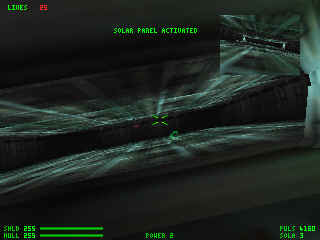
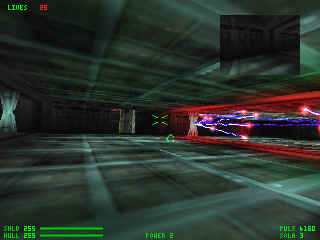
Level 11 - Orbital Space Station. Back to Index.


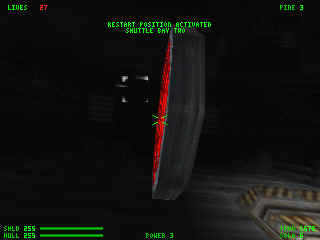

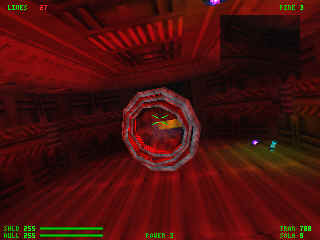
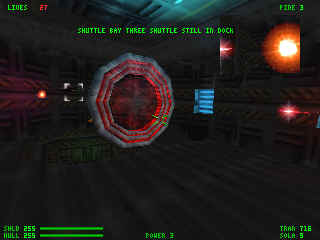

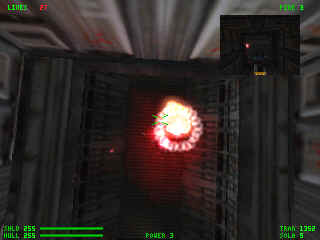

Level 12 - Shuttle Bay. Back to Index.


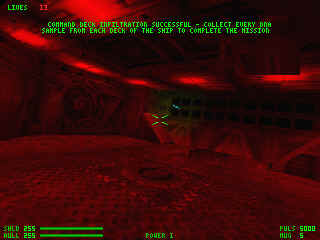
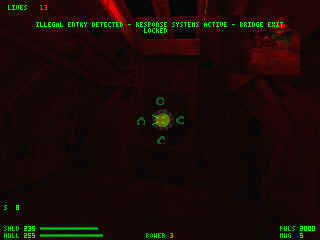
Level 13 - Military Base. Back to Index.
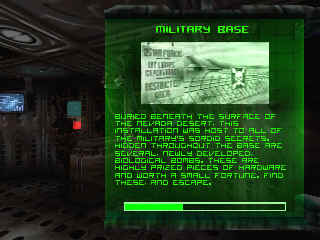
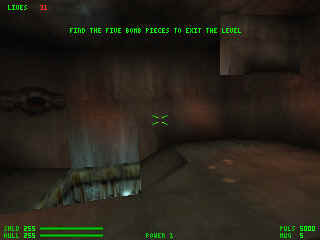
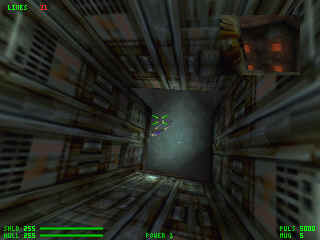
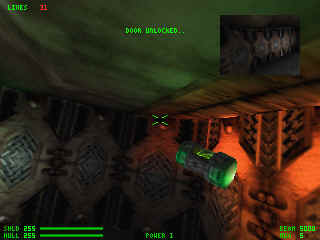


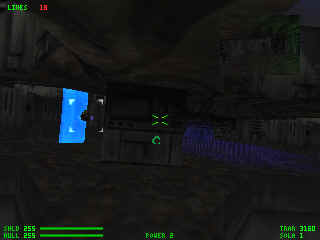
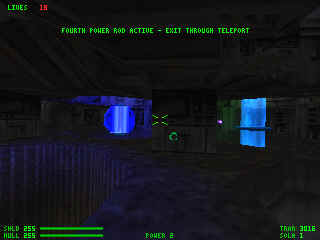
Here is where you get the 4th bomb. Look around and get the crystal. (Look UP).

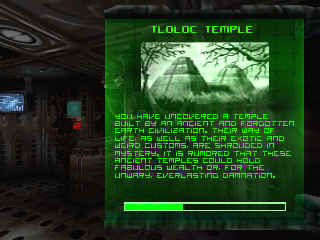
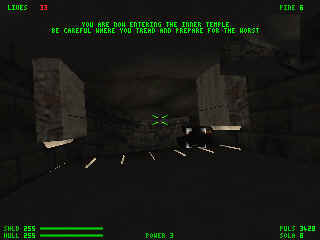
Level 14 - Tloloc Temple. Back to Index.


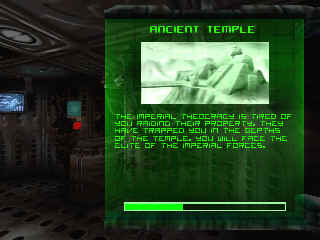
Level 15 - Ancient Temple (Secret Level). Back to Index.


Crystal WALKTHROUGH. Back to Index.
Here I have listed the location of all the crystals in the game. Although I cover this in my complete walkthrough as well, I thought I would just list the crystals here and provide Screenshots of where each Crystal is.
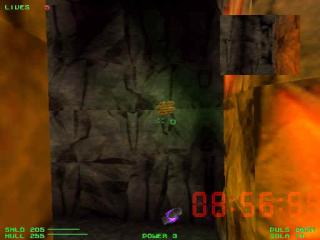
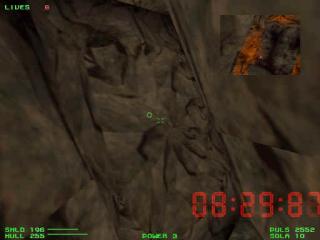
Level 1 - Volcano.
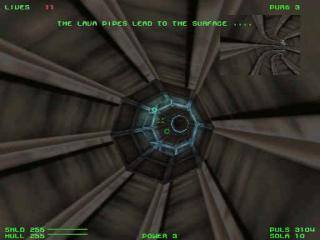
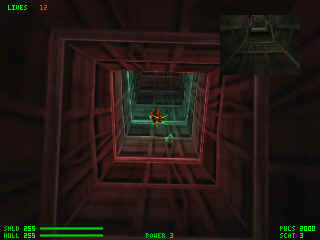
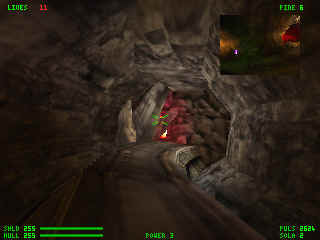
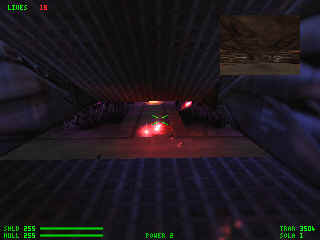
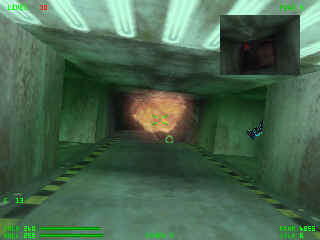
First, you must kill ALL enemies. Then, where you get the 10th Gold Bar
(the tunnels before the volcano) - between the 5ft and 15ft (narrow)
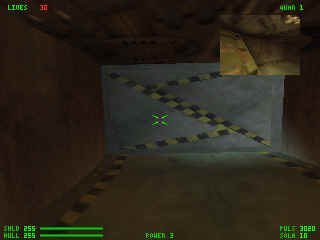
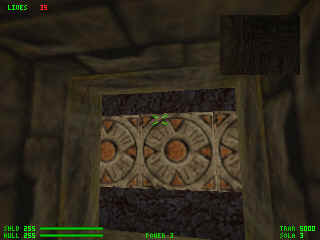
lava pit there is a wall that looks like a star (or the wormhole in Deep
Space 9). Shoot this - A Lot. It will open up the wall and the crystal
is behind it.
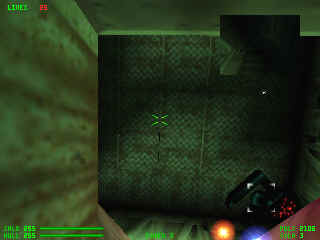
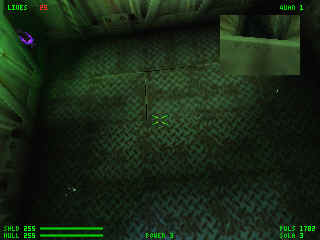
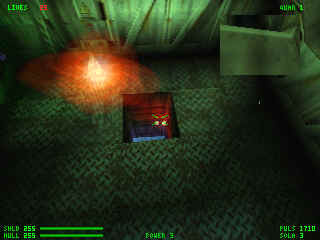
Level 2 - Subway.
Keep your eyes open - You will be able to see the crystal behind a few
walls. Shoot into the space you can see it from - there is a barrel
there that will explode and open up that area for you.
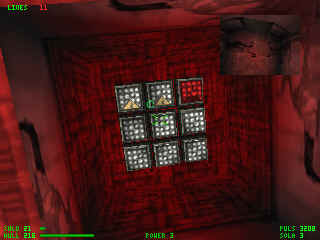
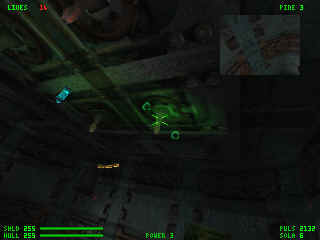
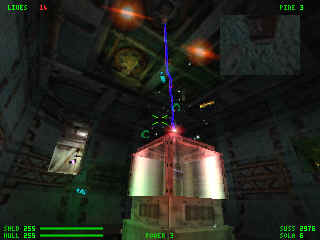
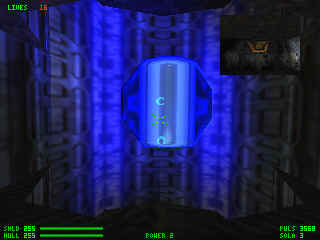
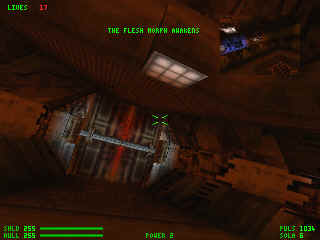
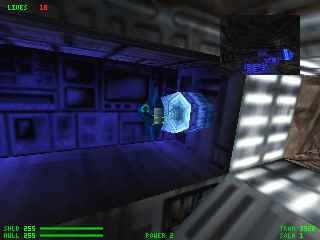
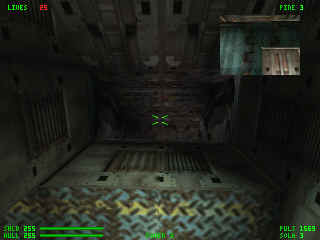
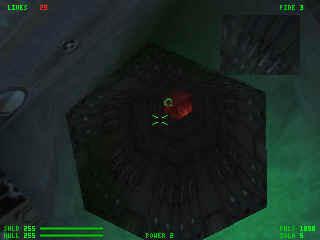
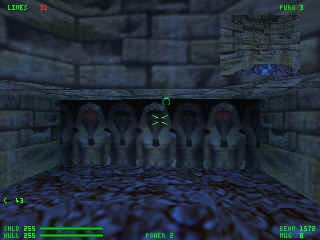
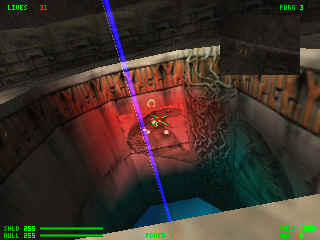
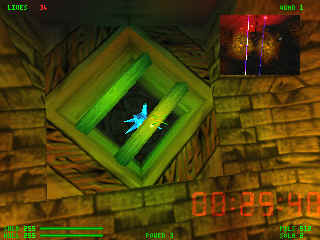
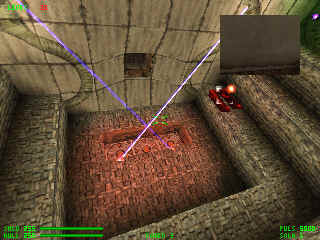
Level 3 - Nuclear Power Station.
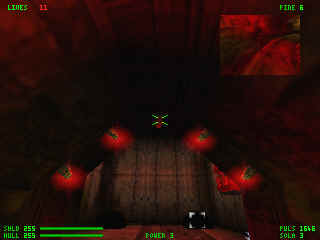
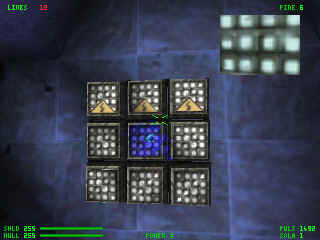
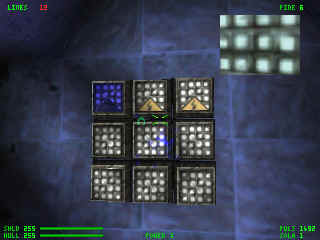
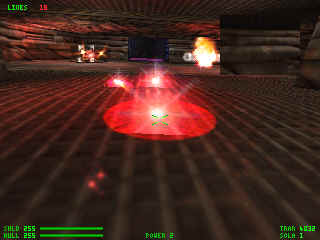
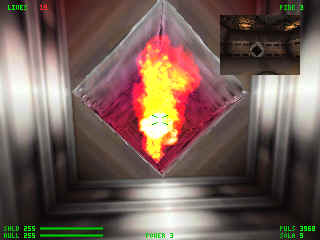
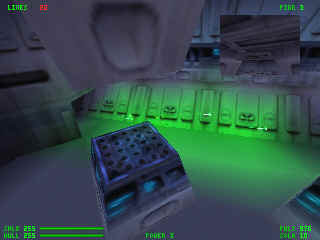
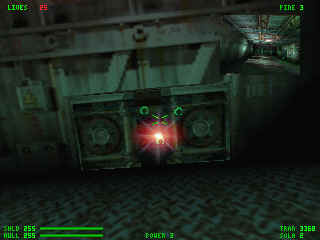
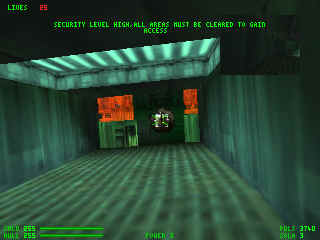
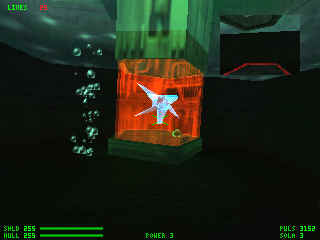
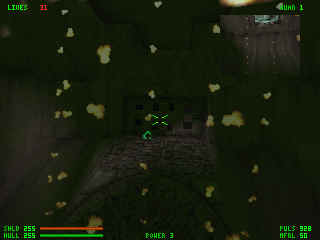
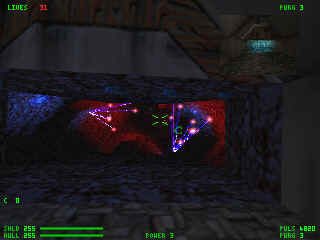
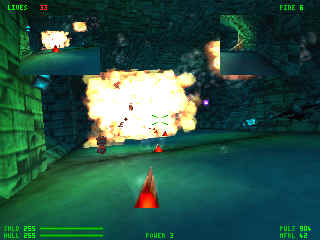
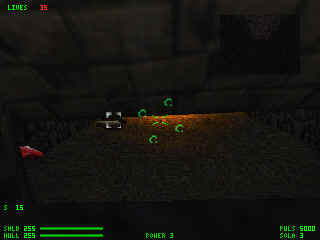
Right after you get to the point of the Chaos Shield. In that room, if
you blow up all the nuclear barrels, a Bounty Hunter will appear - Kill
the Bounty Hunter and get the crystal.
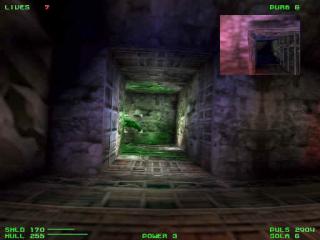
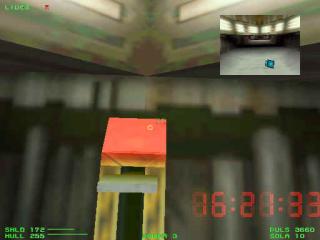
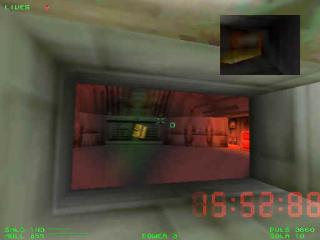
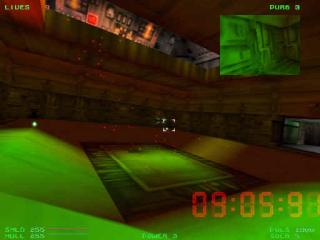
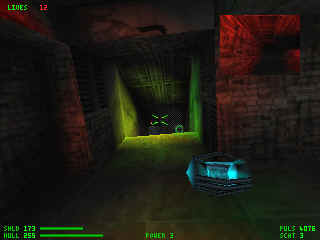
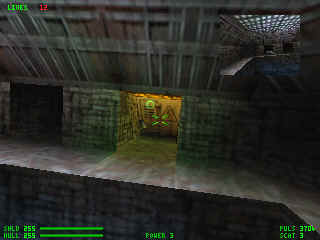
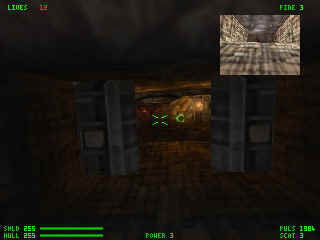
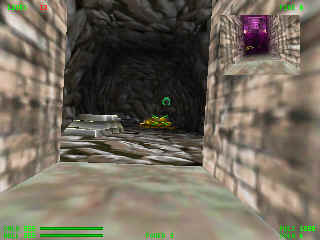
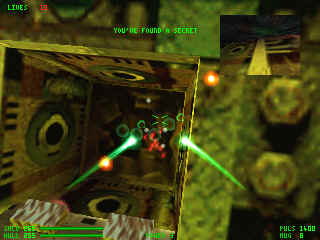
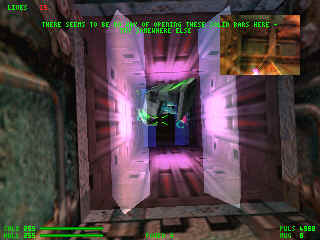
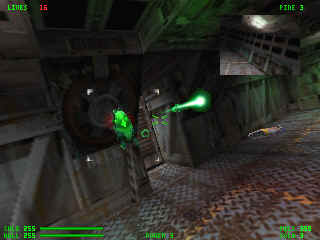
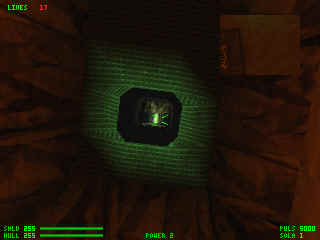
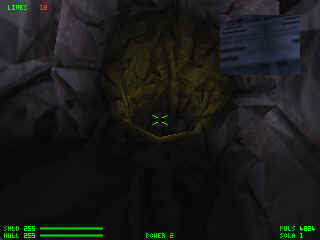
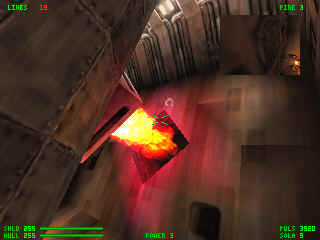
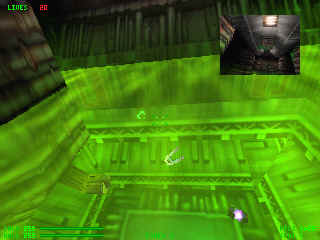
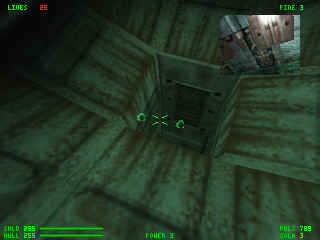
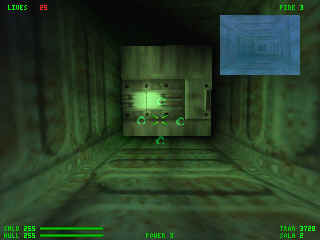
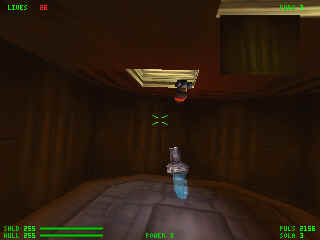
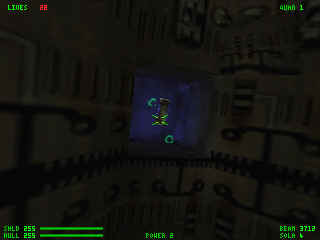
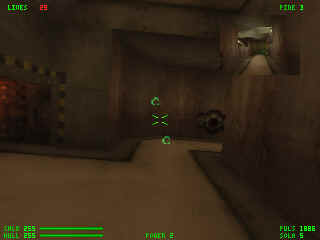
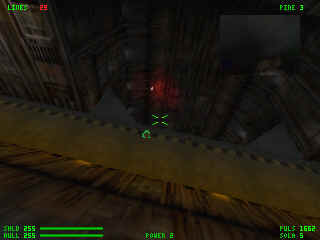
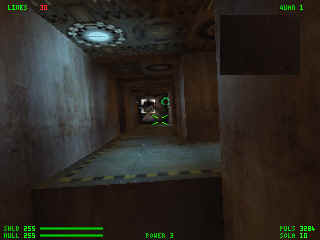
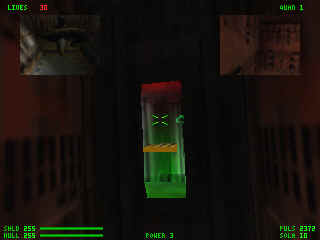
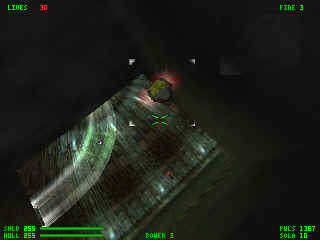
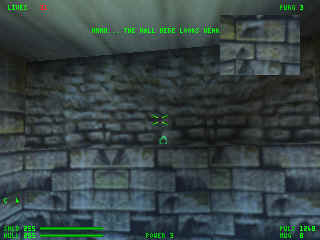
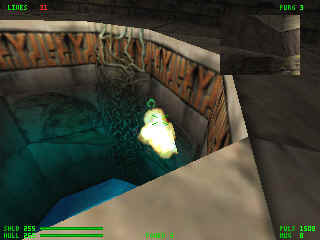
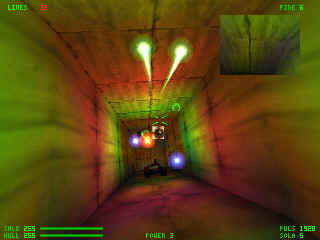
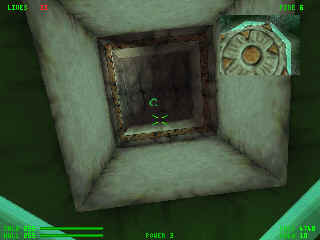
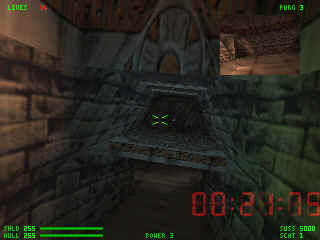
There's a Yellow Glowing wall in a 'air duct' type of thing. You come in this room from the top and you'll see a side exit. Blow away the yellow glowing wall and it goes up into the air duct system, and that's where the crystal is.
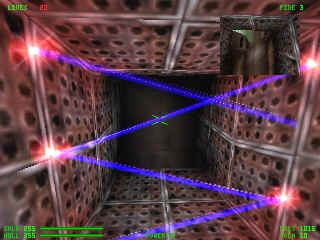
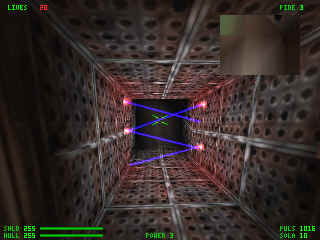
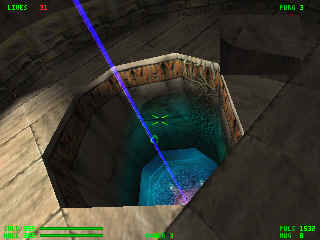
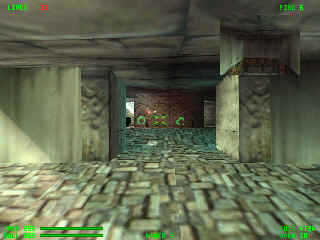
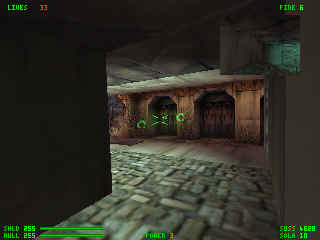
Before you get to the Laser Areas, there are two tunnels that go "down". In both of these tunnels are side tunnels - Gotta look for them, they merge pretty well. In the second side tunnel is the crystal.
You can't miss it. The order to shoot the guns is: Pulsar, Susska, Mug. Trojax - Get the Trojax near the end. You can't miss it if you explore all the rooms and blow up all the barrels. (NOTE - Until 5/17/98 this had the trojax and mug order mixed up. It is correct now).
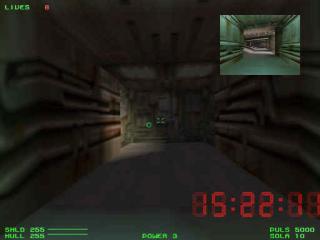
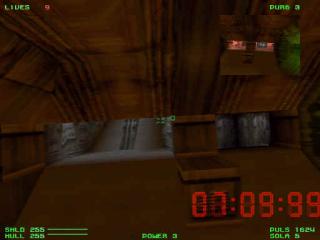
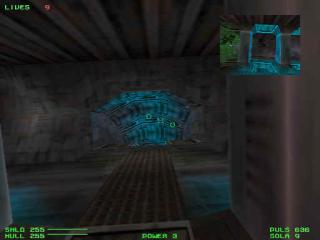
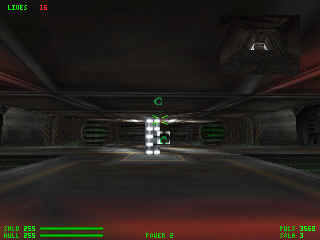
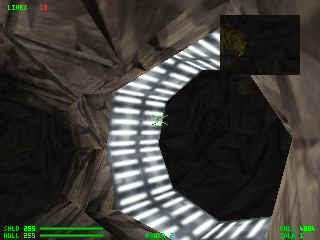
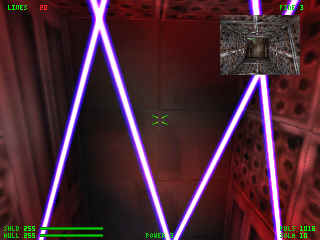
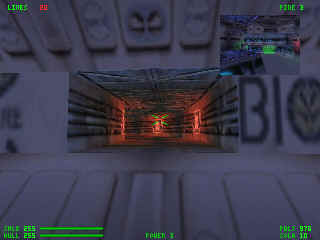
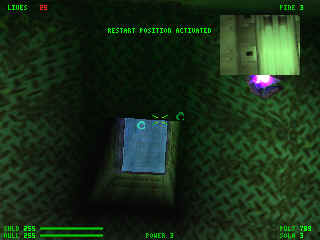
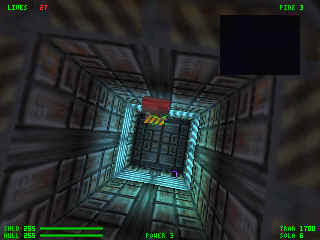
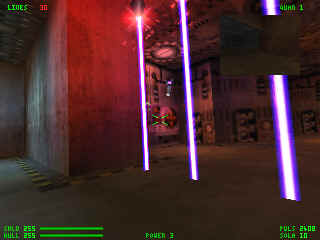
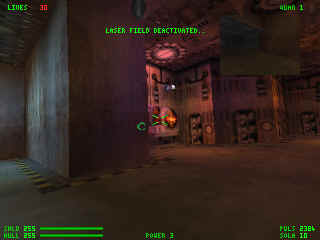
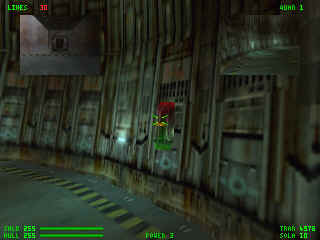
After the red bars that move when you get near them, there will be a circular tunnel and a narrow tunnel. Go down the circular tunnel and take the first side exit you can. Explore there and shoot the switch to "deactivate Force Field". Then go back and go through the narrow tunnel - Look around and you will find the crystal. Then go back down the circular tunnel to get to the end of the level.
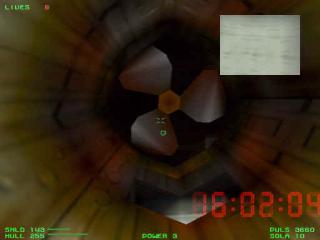
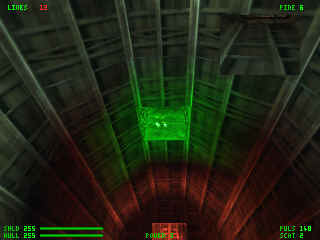
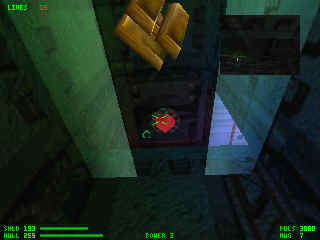
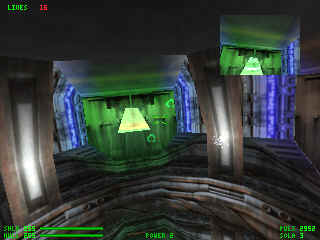
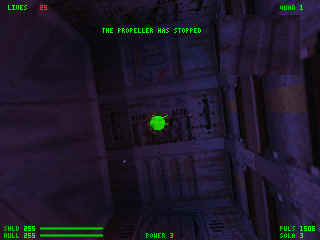
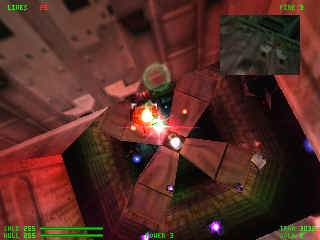
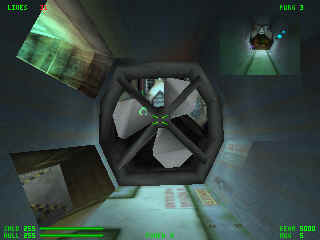
After destroying the big solar generator thing, go back to the big fans - Blowing up the generator stopped one of the fans. Go into that room and kill everything and you will get the crystal.
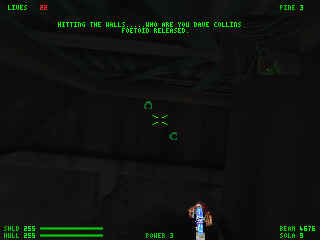
Right near the end of the Level, you will have to hit a switch to activate the exit doors - hitting the button will sick the Foetoid bounty hunter on you. Kill him and he has the crystal.
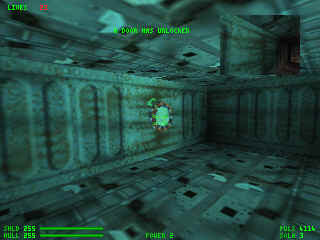
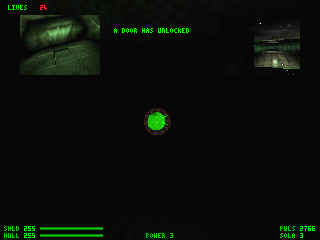
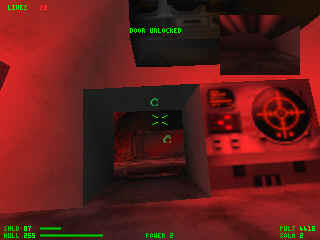
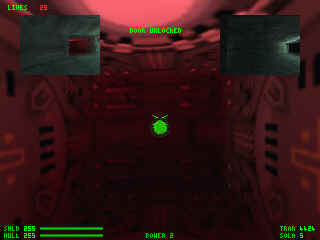
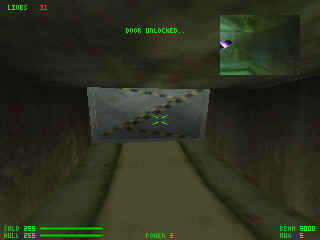
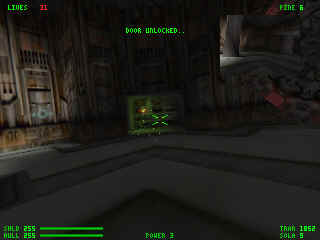
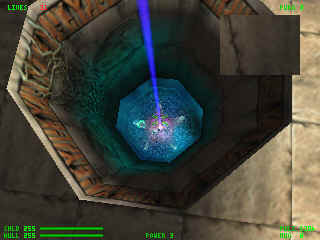
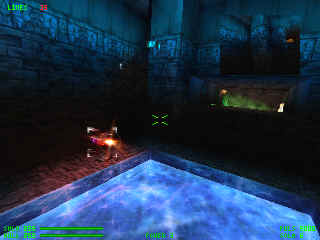
You have to find the secret underwater area to hit a switch that turns off the fan guarding the crystal. Hehe. :) Search around and you will find a button that you shoot - it will say something like "door unlocked" - then go back to the room where you first went underwater- there is a floor tile that you can blow and it leads to another underwater area. In there is yet another switch and that turns off the big fan that is guarding the crystal in yet another area (which you have to go to anyway).
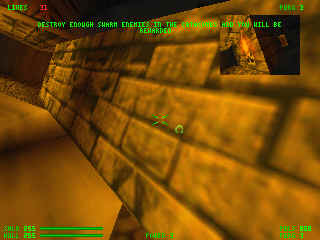
You need to kill enough enemies to unlock a secret area. In this secret area is a switch which will unlock the crystal. The crystal is pretty easy to find.
After the "Briefing Room" (which has an extra secret if you shoot that little red box), there will be a corridor you go down. Down that corridor is a button - Shoot the button and head back to the Briefing Room - Just go straight across and you'll see the secret entrance that opened up. That is where you will find the crystal.
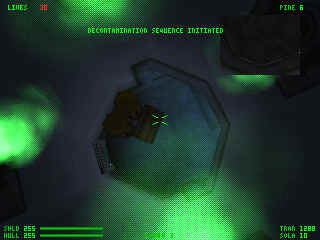
Right where you get the 4th bomb is a corridor you can go down and get gold bars. It's an "observation deck" for the nuclear missile silos you passed through earlier. When heading back out, look up - there is a secret passage that leads to the crystal. You will know which corridor I'm talking about because it should be the last bomb you have to get - there will be a laser turret between two "columns", and the gold is down a corridor marked "Caution: Keep Out" and has green lighting around it. If you get to "decontamination Sequence", you've gone too far.
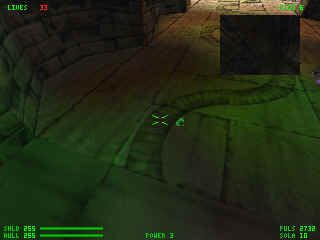
You will see the crystal locked away in the "Laser Room". Remember where it is. At the end of the level, you will have to kill a Bounty Hunter in order to get the Golden Idol so you can leave - HURRY and double back and go get the crystal. It will unlock when you have the Idol from the Bounty Hunter. Timing is important, and hit the savegame often. Also, don't make the mistake I made the first time while trying to get the first idol from that big underwater fan. When you see it, you'll know what I mean - Shoot the Two Snake Heads, and the underwater fan will Temporarily turn off.
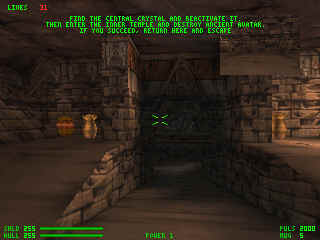
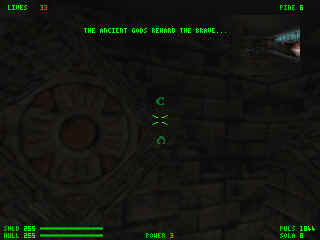
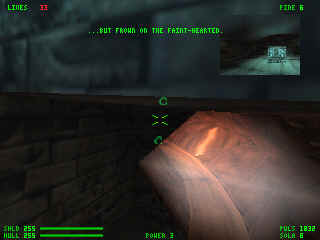
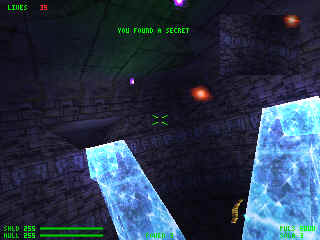
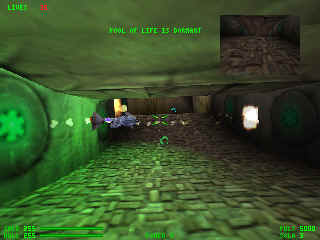
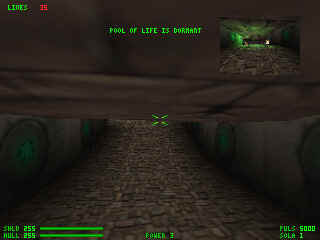
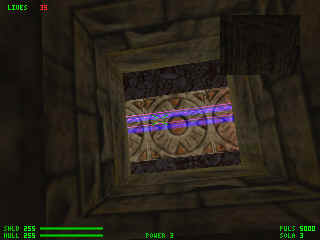
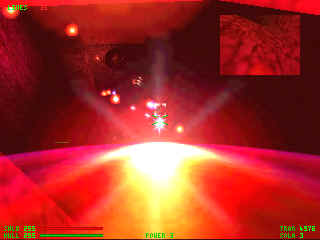
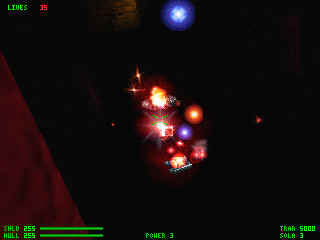
Level 15 - Ancient Temple (SECRET LEVEL).
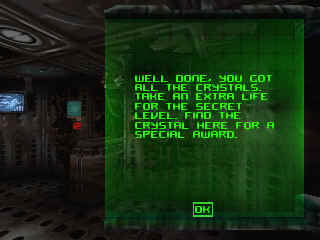
In order to even get to this level, you must have acquired ALL the
crystals in the game so far. If you get the crystal in this level and
get out alive, you get a special bike you can use.
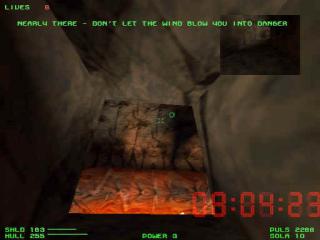
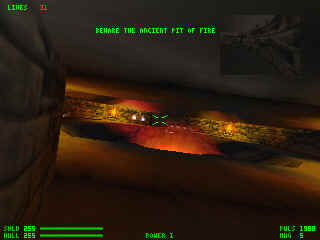
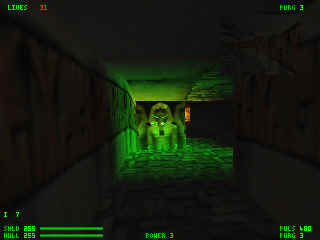
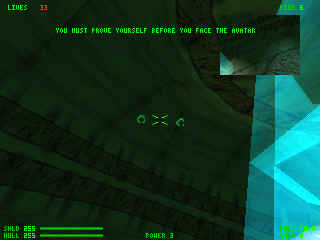
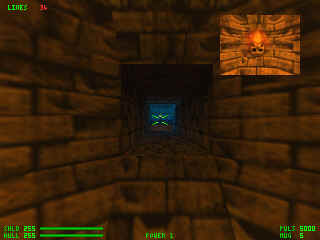
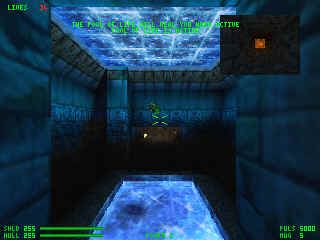
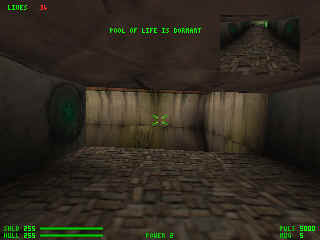
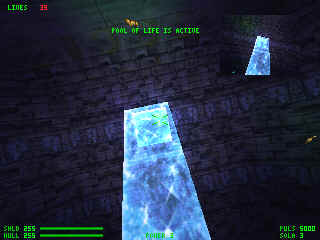
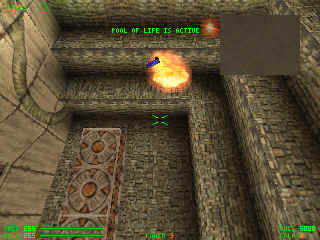
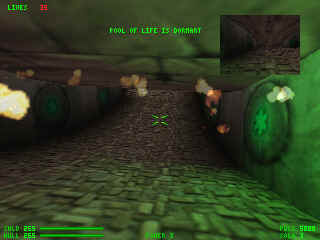
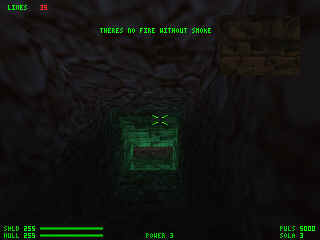
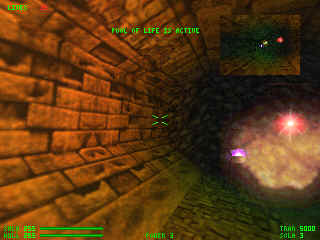
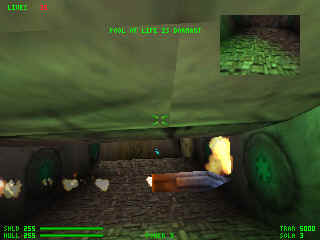
The key to getting the last crystal is
the Pool of Life. As you go throughout the level, you will see "Pool of
Life Active". EVERY time you see that message, drop what you are doing,
and go back to the pool of life. Watch out because about the 4th time
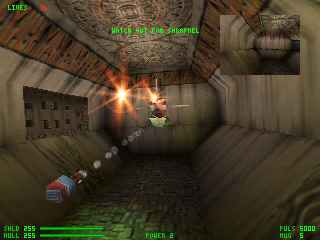
you head back, you will get shot at with a Titan Missile. Each time you
go back, kill all the enemies that pop up and then go back to your
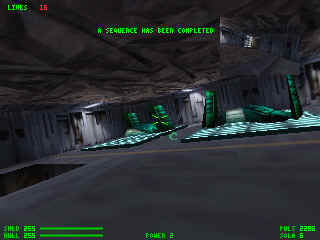
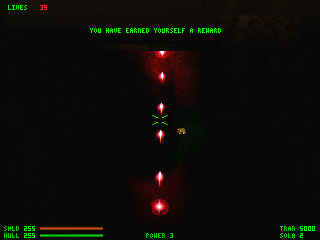
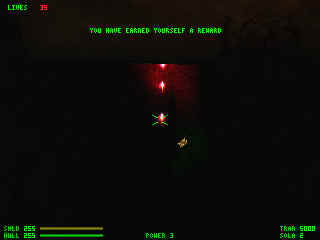
business. You have to do this 5 times. The last time when you head back
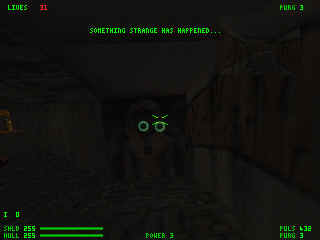
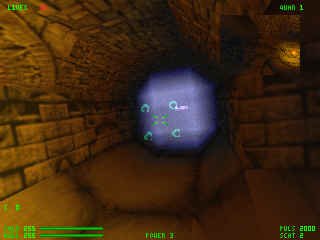
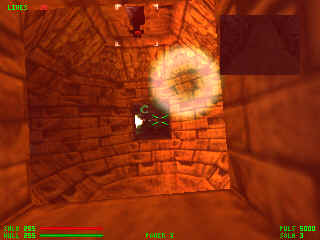
through it will say "a crystal has appeared" and a little view of the
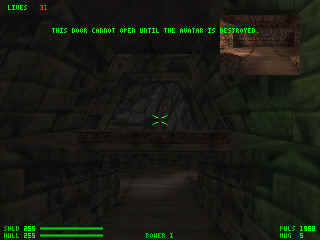
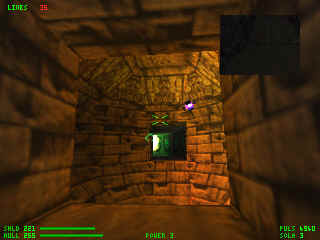
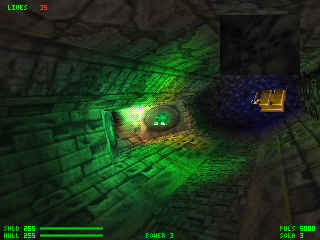
crystal will appear. Go back down to where the "Idols" and the laser
fields is. There is a room which is very dark and has a bridge in it
(it's dark UNDER the bridge) - kill all life in here and you'll get
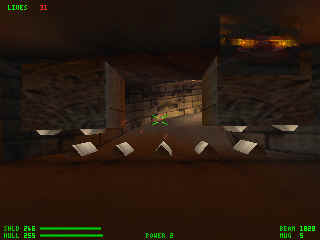
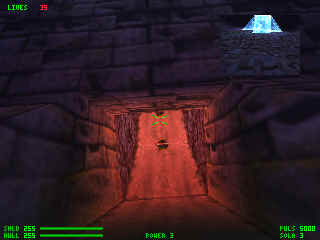
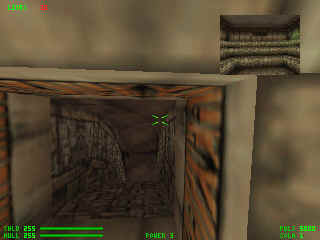
"You've earned yourself a reward". Then keep going down the wind tunnel
till you get to the "garbage compactor" room. Manually bump all four
glowing heads and the floor will go down. In the next room is the
exit/crystal.
It was brought to my attention that you must find BOTH secrets in this
level or you will not be prompted to return to the crystal enough times.
The first secret in this level is in the room with the "clear" door. You
have to kill all the enemies in this room and that door will unlock. In
this room there are 4 cornered walls with "Idols" pictured on them.
Shoot these walls. Hitting one of them twice opens up a secret door.
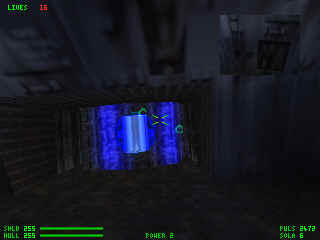
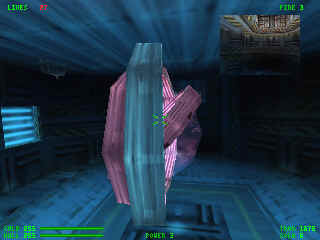
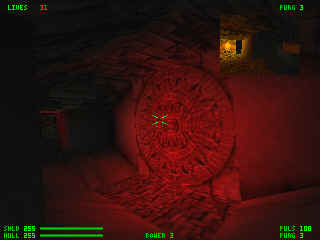
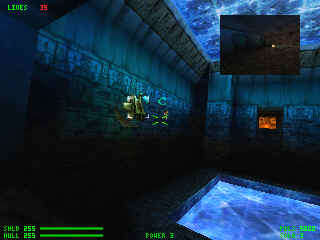
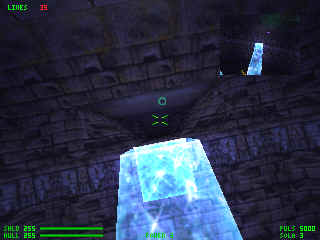
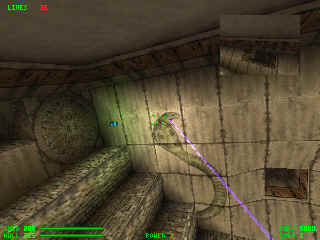
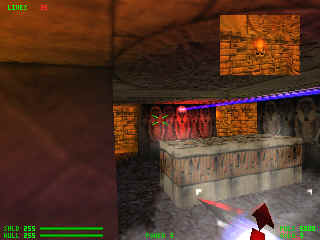
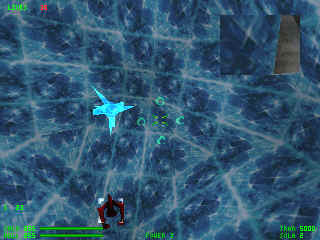
The Second secret is in the room with the blue tunnel thing. There are 4
snakeheads on the ceiling. You will notice that one of them is glowing
(basked in a colored light) - Shoot it and an enemy appears. Kill him
and a different snakehead glows. Do this 4 times and it will say "You
have discovered a secret".